Discrimination should remove only the responses that interfere with a specific hunt, not every signal that resembles trash. Start with a minimally restrictive setup, learn how your detector divides Target ID and audio, then test local targets before rejecting another region. Treat the screen and tone as separate clues, and cross-sweep before deciding. This reduces pointless holes without silently losing jewelry, coins, or relics that overlap common trash.

A Copied Pattern Can Silence the Target You Came to Find
Metal detector discrimination settings decide which parts of the detector’s response remain audible and which are rejected. That sounds simple until a copied pattern removes the same Target ID region where a thin ring, a small coin, a brass relic, and several pieces of aluminum can all appear. The detector does not know which object you value. It only measures a response and applies the instructions you gave it.
I treat discrimination as a site-specific listening filter, not a trash-removal guarantee. The first decision is the hunt goal: recovering modern coins from a busy park permits a different level of rejection than searching an old homesite where iron, brass, lead, and corroded objects may sit together. This article focuses on accepted regions, rejected regions, notches, iron audio, tone breaks, target tones, and dig decisions. It does not provide a universal Target ID chart because those numbers change with the detector, search mode, ground, target orientation, depth, and nearby metal.
Discrimination is only one part of the setup. The broader metal detector settings guide explains how ground balance, sensitivity, recovery behavior, and search mode affect what you hear. Here, the question is what must remain audible for a sound dig decision.
How to Set Discrimination on a Metal Detector
Begin with the objects you are willing to recover, not the trash you hope to avoid. A coin-focused park hunt may reject some iron while keeping the nonferrous range open. Jewelry hunting requires more tolerance for foil and pull-tab responses, while aggressive rejection at a relic site can silence small brass, lead, or mixed-metal targets.
Next, identify exactly how your detector handles the following controls. Do this from the manual and the screen in front of you, not from a pattern made for another machine:
- The beginning and end of the Target ID scale.
- The number and width of discrimination segments.
- Whether a notch rejects one number, a narrow group, or a broad region.
- Whether iron rejection, iron volume, and iron tone are separate controls.
- The available audio modes, tone breaks, tone frequencies, and factory defaults.
- Whether saved profiles preserve every audio and rejection setting.
Two detectors can display similar-looking numbers while dividing the response differently. One may let you reject a single narrow segment, while another removes a wider block. That difference matters more than the label printed beside the button because a broad notch can silence neighboring targets you never intended to reject.
There Is No Best Discrimination Setting for Every Hunt
The best discrimination setting for a metal detector is the least restrictive pattern that still lets you work the site efficiently. Start with a factory mode that matches the general hunt or with an open pattern that rejects only obvious iron. Hunt a small area, listen to what dominates, and dig enough uncertain targets to learn what the site is actually producing before tightening the filter.
This approach prevents a common beginner mistake: increasing discrimination after the first ten pieces of trash. Ten pull tabs prove only that pull tabs are present. They do not prove that every response in the same region is trash. The useful question is whether that response repeats often enough, with the same audio shape and the same recovery result, to justify a local rule.
Ground conditions can also shift or destabilize the response. If the machine is reacting to mineralized soil, changing discrimination may hide symptoms without correcting the cause. Check the process for ground balance settings in real soil before assuming every unstable low response belongs in a rejected region.
Discrimination, Notch, Iron Volume, and Tone Break Do Different Jobs
These controls are not interchangeable. Discrimination removes a response, iron volume keeps it available at a quieter level, and a tone break changes how a range sounds without rejecting it. A notch targets a selected part of the scale rather than everything below a cutoff.
| Control | What it changes | Main risk |
|---|---|---|
| Discrimination | Accepts or rejects a range of responses | A useful target inside that range may become silent |
| Notch | Rejects or accepts a selected segment within the scale | The segment may be wider than the trash response you meant to remove |
| Iron volume | Changes how loudly accepted iron information is heard | Setting it too low can remove context around a mixed target |
| Tone break | Moves the boundary between audio regions | A changed tone can be mistaken for improved identification |
| Tone frequency | Changes the pitch assigned to an audio region | A pleasant pitch does not make the target more reliable |
The practical rule is to change the smallest control that solves the actual problem. If constant iron noise is tiring but still useful, reduce iron volume before rejecting more of the scale. If two accepted ranges sound too similar, adjust the tone break or pitch before creating a notch. Every rejected region should have a reason tied to repeated local evidence.
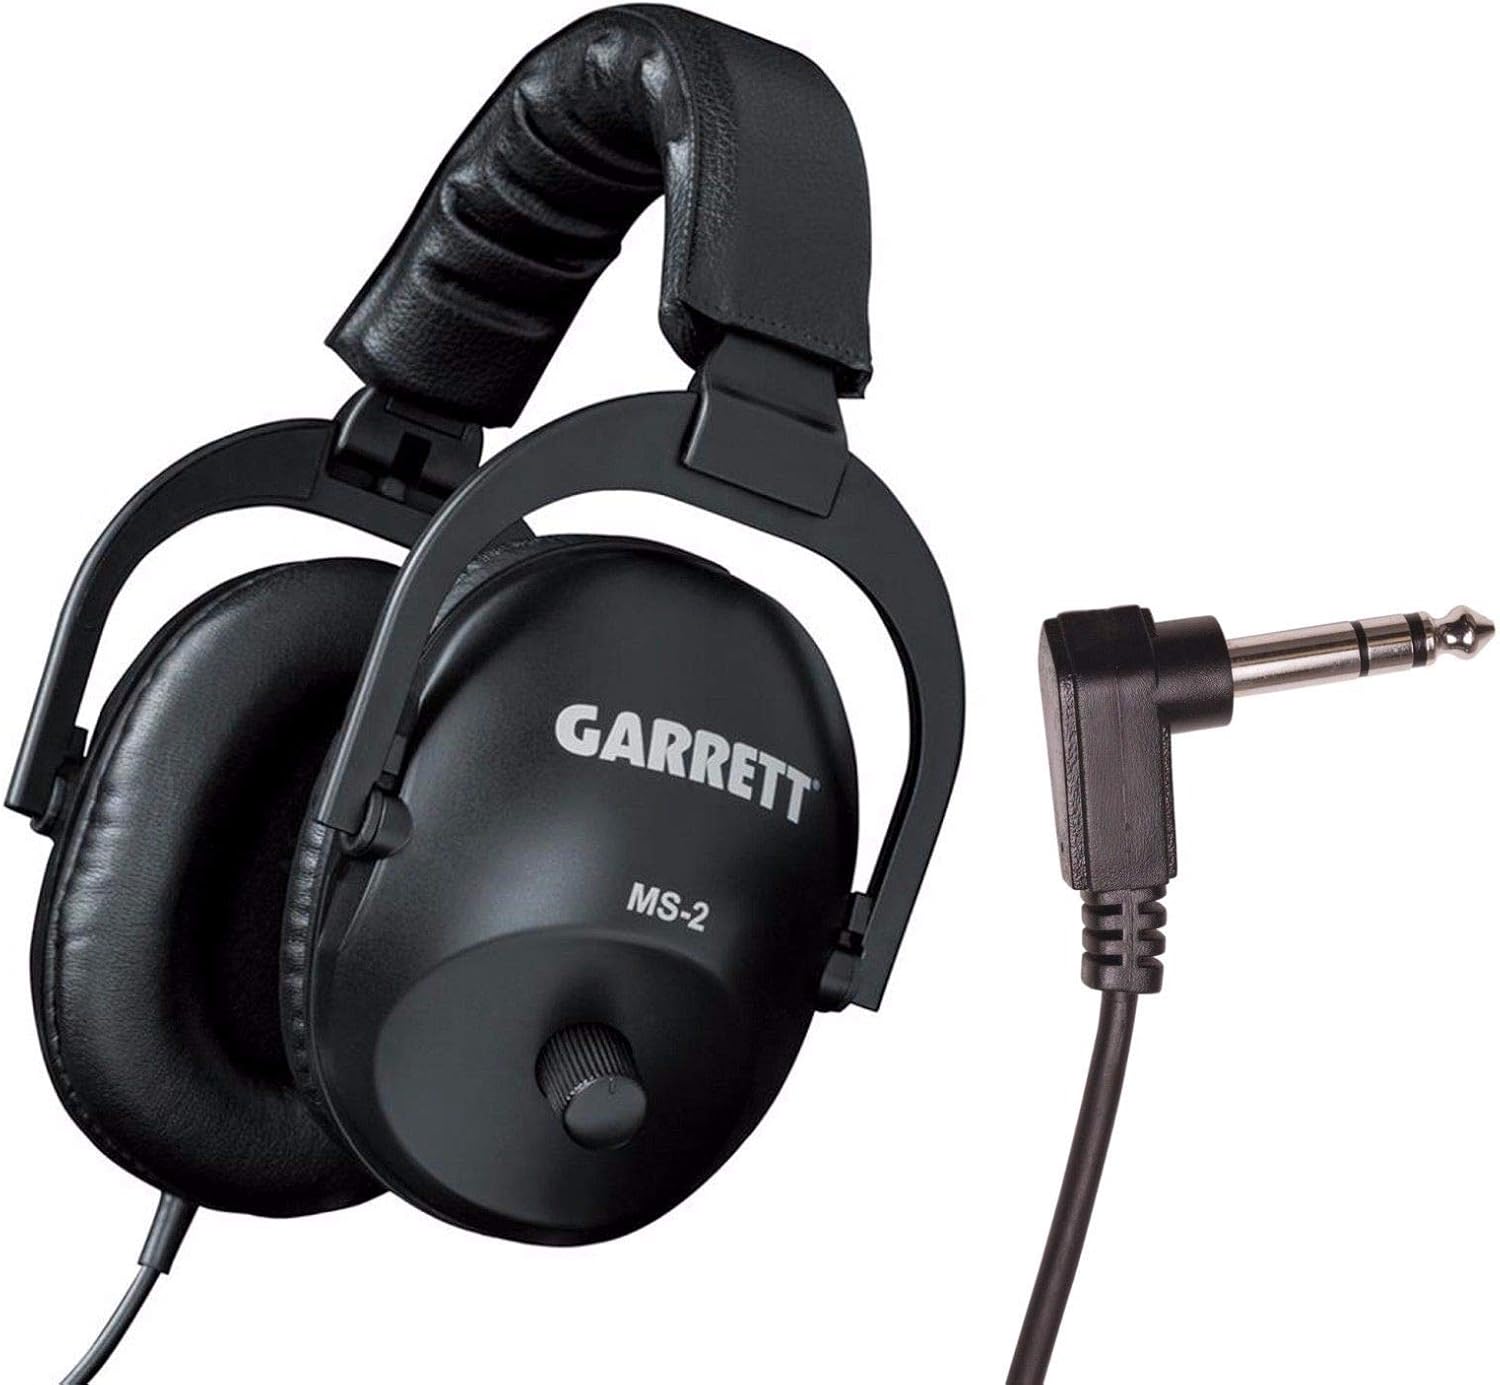
The Garrett MS-2 Headphones use a 1/4 inch right-angle stereo plug and are made for metal detecting use. They include volume control for adjusting signal levels and improving weak-signal listening. The design also uses padded ear cups, an adjustable headband, and a reinforced coiled cable.
Check On AmazonIf you click this link and buy, we earn a commission at no additional cost to you.
Use Metal Detector Notch Settings Only After Local Evidence
A notch is most useful when one narrow, repeatable trash response overwhelms a site and the detector has enough resolution to isolate it without removing a broad neighboring region. Even then, test the width of the notch. Accept the segment again, pass several examples across the coil, and note how much the response moves when the object is tilted, deeper, partly corroded, or close to another target.
A narrow pull-tab notch may improve efficiency during a short coin hunt, but the same setting can silence rings during a jewelry hunt or small brass at an older site. Its value depends on the hunt goal and the cost of what it may hide.
Key point: A notch should answer a local, repeated problem. It should never be copied merely because someone else’s screen looked clean.
After setting a notch, keep digging a sample of signals immediately above and below it. That boundary check is how you discover whether the rejected region is stable or whether useful responses are being pulled into it by depth, soil, or adjacent metal.
Jewelry, Coins, Relics, and Trash Can Share the Same Region
Target ID is an estimate of the detected response, not a material label. Shape, mass, conductivity, orientation, depth, corrosion, and nearby objects all influence that estimate. A thin gold ring can sit in the same general response area as foil or a pull tab. A bent aluminum fragment can imitate a stronger coin-like response. A corroded brass item may sound less stable than its clean test-piece equivalent.
This overlap is why universal charts create false confidence. An isolated test cannot predict the same target on edge, in mineralized soil, beside a nail, or near the identification limit. Use charts only for the broad order of a scale, then build dig rules from local ground and recovered targets.
After digging hundreds of targets in varied soil, I no longer treat one clean high tone as a verdict. I look for repeatability, response width, the way the signal begins and ends, and what happens when I rotate around it. Those clues do not guarantee a desirable target, but they keep one convenient number from making the entire decision.
How to Read Metal Detector Tones as Signal Shape
Learning how to read metal detector tones begins with understanding the audio system you selected. One-tone audio reports accepted targets with little classification. Two-tone audio usually separates two broad regions. Multiple-tone systems divide the scale into several groups, while full-tone systems can assign progressively different pitches across much of the range. Pitch audio may change with signal strength or position, and threshold-based audio can reveal a target through a rise, break, or change in the background sound.
Depth audio is also different from category audio. Some systems make shallow or strong responses sound fuller while deep or weak responses sound softer, shorter, or less complete. Iron volume changes the loudness of ferrous information without necessarily changing which targets are accepted. Before judging any target sound, confirm what the selected mode is designed to change.
Listen beyond high, middle, or low pitch. Pay attention to the entire response:
- Width: Does the response occupy a tight point or a broad area under the coil?
- Onset: Does the tone begin cleanly or creep in with an iron grunt?
- Cutoff: Does it end sharply, smear, or break apart?
- Clipping: Is only a small piece of a higher tone escaping through rejection?
- Mixed audio: Do ferrous and nonferrous tones appear together or trade places?
- Leakage: Does a high chirp appear only at one edge or one sweep direction?
Wind, traffic, surf, or a poor listening seal can hide the transition between a clipped chirp and a complete response. Do not compensate by adding rejection. Improve the listening conditions first, and use headphones when they make low-level changes easier to hear; the goal is clearer evidence, not a particular model.
A desirable target can sound imperfect when deep, tilted, corroded, or masked. Iron can also produce a convincing high edge. Audio shape helps separate those possibilities, but it remains evidence rather than proof.
Treat Target ID and Audio as Separate Clues
The screen may average several samples into one Target ID while the audio reports changes during each pass of the coil. That is why a steady number with broken audio deserves a different judgment from a slightly moving number with a compact, repeatable tone. Neither clue automatically outranks the other. The useful question is whether both clues tell a coherent story about the target and its surroundings.
Cross-sweep every uncertain target from another direction. First center the response with short, controlled sweeps. Then rotate roughly a quarter turn and repeat at the same coil height and speed. A compact nonferrous target often remains detectable from more than one angle, although the exact ID may move. Long or irregular iron may produce a high tone from one edge and collapse into iron, silence, or a much wider response after rotation.
Do not turn cross-sweeping into another guarantee. An edge-on coin may respond better from one direction. A good target beside iron may disappear when the coil orientation gives the iron more influence. Deep targets may not provide enough signal for stable visual identification at all. The second angle is valuable because it reveals change, not because every desirable target must sound perfect from four directions.
Deep, Edge-On, Corroded, and Masked Targets Need More Caution
A weak target near the detector’s identification limit may still produce audible information after the screen becomes unreliable. An edge-on target can give a narrow response and lower apparent strength. Corrosion changes the electrical relationship between the object and the surrounding soil. Nearby iron can drag, clip, or split both the tone and the displayed ID.
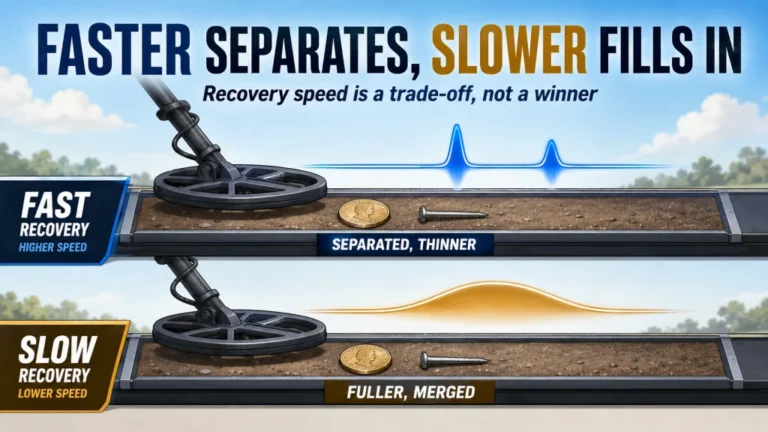
Masking is especially easy to misread. When iron and a desirable target fall under the coil together, the detector may report iron, a mixed response, an averaged ID, or only a brief nonferrous chirp. Raising discrimination cannot create separation that the coil and processing did not achieve. In dense trash, the explanation of how recovery speed affects separation helps distinguish audio filtering from the detector’s ability to reset between adjacent targets.
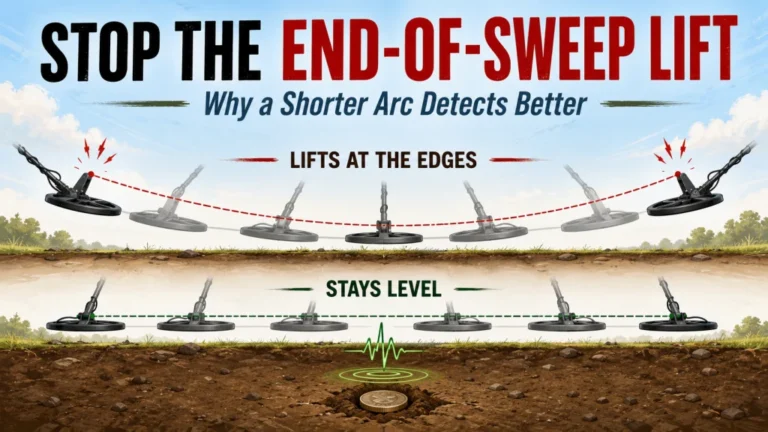
When a questionable response sits in a promising location, shorten the sweep, reduce coil travel, cross it from another angle, and move the coil slightly forward and backward to isolate the center. If the site goal justifies the hole, dig enough of these mixed responses to learn the pattern. Rejecting them all may save time, but it also prevents the site from teaching you what masked targets sound like on your setup.

The Minelab EQX 06 is a round Double-D smart coil for Equinox metal detectors. Its compact size is designed for small-target sensitivity and detecting in high-trash areas. The coil also includes a protective skid plate for the bottom of the search coil.
Check On AmazonIf you click this link and buy, we earn a commission at no additional cost to you.
Large and Irregular Iron Can Leak High Tones
Large flat iron, bent iron, rusty rings, and irregular fragments can produce nonferrous-sounding edges. The coil may catch one part of the object differently from another, creating a clipped high tone beside a broader iron response. If discrimination silences most of the iron, the remaining high edge can sound cleaner than the complete target really is.
Check for three signs before deciding. First, sweep beyond the apparent center and listen for iron grunts on both sides. Second, rotate and compare whether the high tone stays centered or jumps to a different edge. Third, raise the coil slightly over a very strong shallow response. A large object may continue responding over a wider area than a coin-sized target.
Warning: An iron grunt does not prove there is no desirable target nearby. The signal may come from a mixed target or two separate objects. Use the grunt to understand the scene, then decide whether the location and response justify recovery.
This is also why lowering iron volume can be safer than removing iron completely. Quiet context is still context. Silence gives you no warning that the high chirp may be only one edge of a larger ferrous response.
Build a Local Reference Set with Controlled Tests
Build the reference set from targets found where you hunt: representative coins, jewelry shapes, brass or lead, pull tabs, foil, bottle caps, nails, and irregular iron. Test them in the intended search mode and audio setup. Record the response range, tone width, repeatability, and changes caused by orientation.
Start with isolated tests, then place targets beside one another. A coin alone teaches the clean response. The same coin beside a nail teaches masking, clipping, and directionality. Move the objects closer in small steps, rotate the nail, and repeat the sweep from two directions. This does not reproduce every soil condition, but it shows how quickly the detector’s answer changes when more than one target enters the detection field.
- Return to the known baseline pattern used for the site.
- Confirm the search mode, ground balance, sensitivity, tone system, and recovery setting.
- Test each target flat, tilted, and on edge.
- Repeat with a small amount of separation between desirable and unwanted targets.
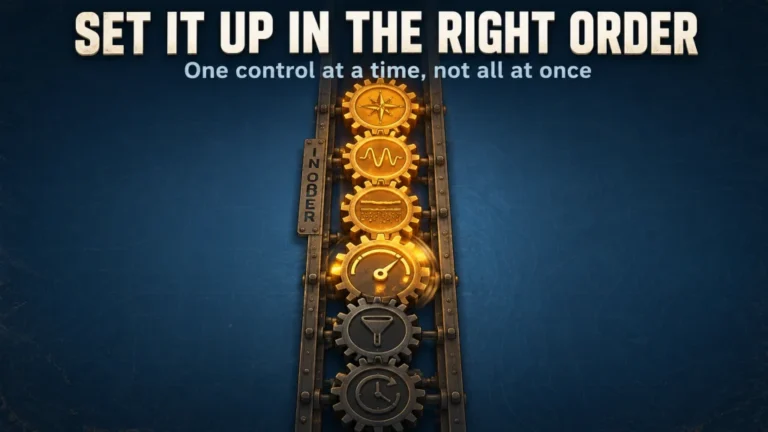
- Change only one control at a time.
- Write down what became quieter, what became clearer, and what disappeared.
- Confirm the result in the ground before saving a site profile.
A bench or air test is a comparison tool, not a substitute for buried-target behavior. Soil, moisture, mineralization, target depth, and corrosion can change the response. Save a separate site profile only after the pattern has worked in actual ground and after you know what trade-off each rejection creates.

This pocket notebook uses weatherproof paper designed for outdoor fieldwork. Each notebook has 100 pages with a top-spiral format and an impact-resistant Wire-O binding. The Polydura cover helps protect field notes from scratches and stains during use.
Check On AmazonIf you click this link and buy, we earn a commission at no additional cost to you.
Scott’s Field Blueprint: Hear, Test, Recover, Then Adjust
The field blueprint I use prevents the settings from deciding what the site contains before I have heard it. I keep enough of the range open to recognize iron and modern trash, isolate repeatable signals, cross-sweep them, and recover a sample before changing a control. Those objects become the local reference set, not a chart made on another detector.
- Hear the site: Make an initial pass with minimal rejection and note whether iron, aluminum, or isolated coin-sized responses dominate.
- Test the response: Center uncertain signals, shorten the sweep, and compare at least two directions.
- Recover a sample: Dig signals from more than one response region so the site can confirm what the audio and screen were suggesting.
- Adjust one control: Change discrimination, a notch, iron volume, or a tone break separately, then listen for what became clearer and what disappeared.
- Confirm in the ground: Keep the change only when repeated field recoveries support it, then save a site profile if the detector allows one.
This process exposes the cost of a quiet pattern. A change stays only when it reduces fatigue without removing useful context. If it eliminates mixed responses that produce worthwhile recoveries, I reverse it. The blueprint makes every rejection answer to field evidence.
All Metal vs Discrimination Mode Is a Listening Choice
Choosing between an open all-metal setup and a discrimination mode is not the same as choosing maximum depth versus easy hunting. Some all-metal modes use different processing or threshold audio, while others simply open the accepted range. Some discrimination modes retain iron audio, and others silence rejected targets completely. Read the manual for the exact behavior before assuming the mode name tells you everything.
An open or all-metal setup is useful for learning target density and hearing the iron structure of a site. A discrimination pattern is useful when the volume of unwanted responses prevents you from working efficiently. The practical compromise is often to keep enough iron information to recognize masking and large iron while rejecting only the responses that repeatedly interfere with the hunt goal.
For a new site, I prefer to listen before building a quiet pattern. Ten minutes of open audio can reveal whether the ground contains scattered nails, dense modern aluminum, isolated coin-sized targets, or broad iron. That information tells me which control to adjust. Starting with heavy rejection gives a comfortable hunt, but it may hide the evidence needed to choose the right setting.
A Dig-Decision Checklist for Uncertain Signals
No checklist can identify a buried object with certainty, but a consistent process prevents one number or one tone from controlling the decision. Use the following sequence after you locate an accepted response:
- Confirm that the signal repeats over a small, centered area.
- Compare the audio shape with the displayed Target ID instead of treating them as the same clue.
- Cross-sweep from another direction at the same coil height and speed.
- Listen for iron grunts, clipped edges, mixed tones, and high-tone leakage.
- Consider whether depth, target orientation, corrosion, or nearby metal could explain instability.
- Compare the signal with the hunt goal and the site’s age, use, and trash pattern.
- Dig a sample of uncertain signals before creating a new rejection or notch.
The final decision is not “good target or trash.” It is whether the available clues and the site’s potential justify the hole. That judgment improves only when recovered targets are compared with what the detector said before the dig. The broader collection of practical metal detecting techniques can help connect this audio decision with coil control, target recovery, and site strategy.

The Garrett Pro-Pointer AT is a handheld pinpointer with three adjustable sensitivity levels. Its fast retune function can narrow the detection field and help pinpoint a target more precisely. The unit uses single-button controls and is listed as waterproof for detecting around beaches, rivers, and other wet environments.
Check On AmazonIf you click this link and buy, we earn a commission at no additional cost to you.
Final Thoughts: Keep Enough Information to Make the Decision
Discrimination earns its place only when the rejected response has been identified as a repeated obstacle to the hunt goal. A notch, quieter iron, or a moved tone break should each solve a specific problem while preserving enough information to recognize overlap, masking, and large iron.
A calm detector is not automatically an accurate one. The strongest setup is the one you can explain: what remains audible, what has been silenced, why that trade-off fits the site, and which uncertain signals still deserve a cross-sweep or a recovery. Let field evidence shape the profile, then keep testing it whenever the ground or hunt goal changes.
FAQs
⚙️ What discrimination setting should I start with?
Start with the factory pattern that matches the hunt or a minimally restrictive setup that rejects only obvious iron. Dig a sample of uncertain signals before rejecting more of the scale.
💍 Can discrimination make me miss gold jewelry?
Yes. Small and thin gold jewelry can overlap foil and pull-tab responses, so aggressive rejection of those regions can silence the jewelry too. Keep those ranges open when jewelry is part of the hunt goal.
🔊 Why does a target sound good from only one direction?
The signal may come from edge-on metal, a masked target, or a high-tone edge from irregular iron. Rotate around it, shorten the sweep, and compare the response width and iron content before deciding.
🧲 Should I reject all iron?
Not automatically. Some iron rejection can make a site manageable, but quiet iron audio often preserves useful context around masking and large iron. The right amount depends on the site and the targets you are willing to recover.
🎚️ Is notch discrimination the same as iron volume?
No. A notch rejects or accepts a selected response segment, while iron volume changes how loudly iron information is heard. Lowering volume can reduce fatigue without making the response disappear.
🔄 Does a good target always repeat from every direction?
No. Deep, edge-on, corroded, or masked targets may respond better from one direction. Cross-sweeping is still useful because it shows how the signal changes, but it is not a guarantee.
Sources and References
- Minelab, Target Separation vs Target Discrimination: technical distinction between separating adjacent targets and filtering target responses.
- Minelab, Frequently Asked Questions: manufacturer explanation of discrimination, ferrous properties, conductive properties, and target groups.
- Garrett, Iron Audio and Digital Target ID: manufacturer explanation of hearing discriminated iron and interpreting iron grunts around complex targets.
- Nokta Detectors, Audio and Discrimination Controls: manufacturer documentation showing that iron volume, tone break, notch filtering, and Target ID are separate controls.