
A useful metal detector setup starts with the factory baseline, then changes one control at a time for the ground, interference, trash, and targets at the site. There is no universal best setting because search modes, sensitivity scales, ground balance systems, discrimination patterns, tones, and recovery controls behave differently across machines. I use a fixed order so each adjustment answers one question instead of creating three new ones. By the end, you will know how to build a stable, readable setup and when to return to the factory profile.

The Best Setting Is the One You Can Interpret
The first mistake in almost every metal detector settings discussion is asking for one group of numbers that works everywhere. A setup that runs quietly in mild pasture can become noisy beside buried utilities, unresponsive in mineralized soil, or too slow in a patch of dense iron. The usable settings depend on the detector, search mode, coil, firmware, ground, electromagnetic interference, target density, and what you are trying to recover.
That does not mean setup has to be complicated. It means the order matters. A good metal detector settings guide should help you separate interference from ground response, ground response from trash, and trash from a real target signal before you start changing advanced controls.
Key point: Do not chase the highest sensitivity number or the most elaborate audio program. Build the clearest signal-to-noise relationship your ears can follow while the coil is moving over the actual site.
This article covers field setup and signal interpretation. It does not diagnose broken equipment, unexplained instability that remains after a clean factory reset, or physical faults inside the control box. For a wider look at search habits and field decisions, start with these practical metal detecting techniques.
Record the Baseline Before You Change Anything
A practical metal detector setup guide has to begin with a reference point. Before adjusting a control, record the search mode, sensitivity, ground balance status, discrimination pattern, tone setup, and recovery setting shown when the detector starts. A quick phone photo or a few lines in a notebook are enough. The point is not paperwork. It is preserving a known reference so you can tell whether a change helped.
Then verify the parts that can imitate a settings problem. A weak battery, loose coil connector, poorly seated headphone plug, wireless audio that did not pair correctly, or a coil cable moving near the search coil can all produce symptoms that look like bad sensitivity or interference. Confirm that the detector is using the intended factory profile and that its firmware state matches the manual you are reading.
- Check battery charge and battery contacts.
- Seat the coil connector fully without forcing it.
- Secure the coil cable so it cannot move near the coil.
- Test the speaker, wired headphones, or wireless audio path.
- Confirm the installed coil and selected search profile.
- Note any firmware-dependent menu changes in the current manual.
A baseline gives you a way back. Without it, a detectorist can change sensitivity, tones, discrimination, and recovery speed in ten minutes, hear worse audio, and have no idea which adjustment caused the problem.

This pocket notebook uses weatherproof paper designed for outdoor fieldwork. Each notebook has 100 pages with a top-spiral format and an impact-resistant Wire-O binding. The Polydura cover helps protect field notes from scratches and stains during use.
Check On AmazonIf you click this link and buy, we earn a commission at no additional cost to you.
Set the Site Before You Set the Fine Controls
The first working sequence is mode, interference control, and ground response. These three decisions establish the environment in which every later setting must operate. Adjusting tone breaks or recovery speed before this stage is stable often makes the detector sound different without making the signal easier to understand.
Choose the Search Mode for the Site and Goal
Select the factory mode intended for the broad site type and target goal rather than the mode with the most aggressive name. Search modes can change frequency weighting, filtering, default discrimination, audio, ground handling, and recovery behavior behind the visible controls. Two modes with the same sensitivity number may therefore respond differently to the same target.
Start with the closest factory match and keep it unchanged long enough to learn its baseline behavior. A low-trash field, a modern park full of aluminum, a saltwater shoreline, and mineralized prospecting ground present different signal problems. The mode is the foundation, not a label you switch every few minutes because one target sounded uncertain.
Run Noise Cancel or Frequency Selection When Provided
Electromagnetic interference can come from power lines, buried cables, charging systems, buildings, electric fences, nearby detectors, and electronics carried by the operator. If the machine chatters while the coil is held still and away from metal, interference is a stronger suspect than the ground. Use the detector’s noise cancel, frequency scan, frequency shift, or channel selection procedure exactly as its manual directs.
Hold the coil in the position specified by the manufacturer during that procedure. Some systems want it still above the ground, while others provide a different sequence. If the result improves but does not fully settle the detector, move away from the interference source when possible before lowering sensitivity.
Decide What Ground Balance Method the Mode Needs
Ground balance may be unnecessary in mild ground on one detector, preset by a mode on another, or available as automatic, manual, tracking, or mode-specific adjustment. Do not assume that every machine needs the same procedure. The correct question is whether the ground itself produces a repeatable response as the coil moves across clean soil.
The ground balance question comes up on almost every permission hunt I run in this region. New detectorists often assume one value works across an entire property, but mineralized soil near an old foundation can sound completely different from open pasture fifty yards away. That is why the deeper process belongs in a separate guide to using ground balance in changing soil.
Once the detector is in the intended mode, interference has been addressed, and the ground response is manageable, you have a clean enough platform to calibrate sensitivity. Skipping that order makes sensitivity absorb problems it did not create.
Calibrate Sensitivity for Readable Audio, Not a Maximum Number
Metal detector sensitivity settings control how strongly the machine responds to received signals, but the top setting does not automatically produce the best usable depth. Raising it can strengthen weak target responses, ground noise, electromagnetic interference, coil movement noise, and responses from nearby trash at the same time. The detector may become more active while your ability to identify a repeatable target gets worse.
Begin from the factory baseline for the selected mode. Increase sensitivity one step at a time while sweeping the coil normally over the actual ground, not only while holding it in the air. Stop when random responses, unstable IDs, iron falsing, or background chatter begin to compete with repeatable target audio, then step back until the machine becomes interpretable again.
| What You Hear or See | What It May Mean | Next Check |
|---|---|---|
| Chatter while the coil is still | EMI, nearby electronics, another detector, or an unstable connection | Run the interference-control procedure, move location, then reassess sensitivity |
| Noise mainly while sweeping clean ground | Ground response, hot rocks, coil movement, or sensitivity above the usable level | Check ground balance and cable movement before lowering sensitivity |
| Good target tone breaks into scattered responses | Excessive gain, adjacent trash, wrong mode, or recovery mismatch | Lower sensitivity slightly and retest from several directions |
| Detector is quiet but the known target disappears | Sensitivity may be too low, the mode may not fit, or the test target is poorly chosen | Raise sensitivity gradually and confirm the target position and orientation |
The most useful sensitivity setting is usually the highest level that preserves recognizable audio, not the highest level that stays barely below constant chatter. A quiet detector can still hear a weak signal. A noisy detector can hide that same signal in a stream of responses that all demand attention.
Confirm the Setting With a Suitable Known Target
Use a known target that makes sense for the hunt rather than waving the largest metal object available over the coil. For example, a coin-sized target is more useful for checking a coin-hunting setup than a shovel head. Place or bury it only where that is legal and permitted, or use a target already recovered from the site to compare responses above undisturbed ground.
Sweep at normal height and speed from more than one direction. Listen for repeatability, edge response, tone shape, and whether the target remains distinct from nearby ground or trash. The goal is not to prove a dramatic air-test distance. It is to confirm that the chosen sensitivity lets you recognize a relevant signal under the site’s actual noise conditions.
Change One Variable and Retest
If the known target is weak, do not immediately increase sensitivity, lower recovery speed, open all discrimination, and change tones together. Pick the most likely cause and adjust one control. Retest the same sweep before moving to the next variable.
The same rule applies across metal detecting settings: a change should answer one question. This is the difference between calibration and guessing. One change gives you evidence. Four simultaneous changes may produce a better sound, but they do not teach you which control mattered or whether the improvement will survive when you move ten yards across the site.
Build Discrimination and Audio Around the Hunt Goal
Discrimination is not a universal trash-removal switch. It divides the detector’s own target scale into accepted and rejected regions, and those scales differ by machine and sometimes by mode. A number copied from another detector can represent a different target range on yours.
Begin with a pattern that lets you hear enough of the site to understand what is present. In dense modern trash, rejecting selected regions may reduce fatigue, but wide rejection can also clip mixed or partially masked responses. Near old iron, hearing some iron information can help you recognize nails, sheet iron, and nonferrous targets sharing the coil’s detection area.
Tones, iron volume, threshold, tone breaks, and audio complexity should support that decision rather than decorate it. More tones provide more information only when the operator can separate them during a normal sweep. A simpler audio layout often teaches a new machine faster because the difference between repeatable, broken, and iron-contaminated responses is easier to hear.
Note: Target ID and tone are evidence, not a guarantee of metal type. Orientation, depth, corrosion, nearby targets, soil, and the selected mode can all change the response.
The practical question is what information you need before deciding to investigate a target. The full process of choosing accepted regions, tone breaks, and iron audio belongs in the guide to setting discrimination without hiding useful targets.
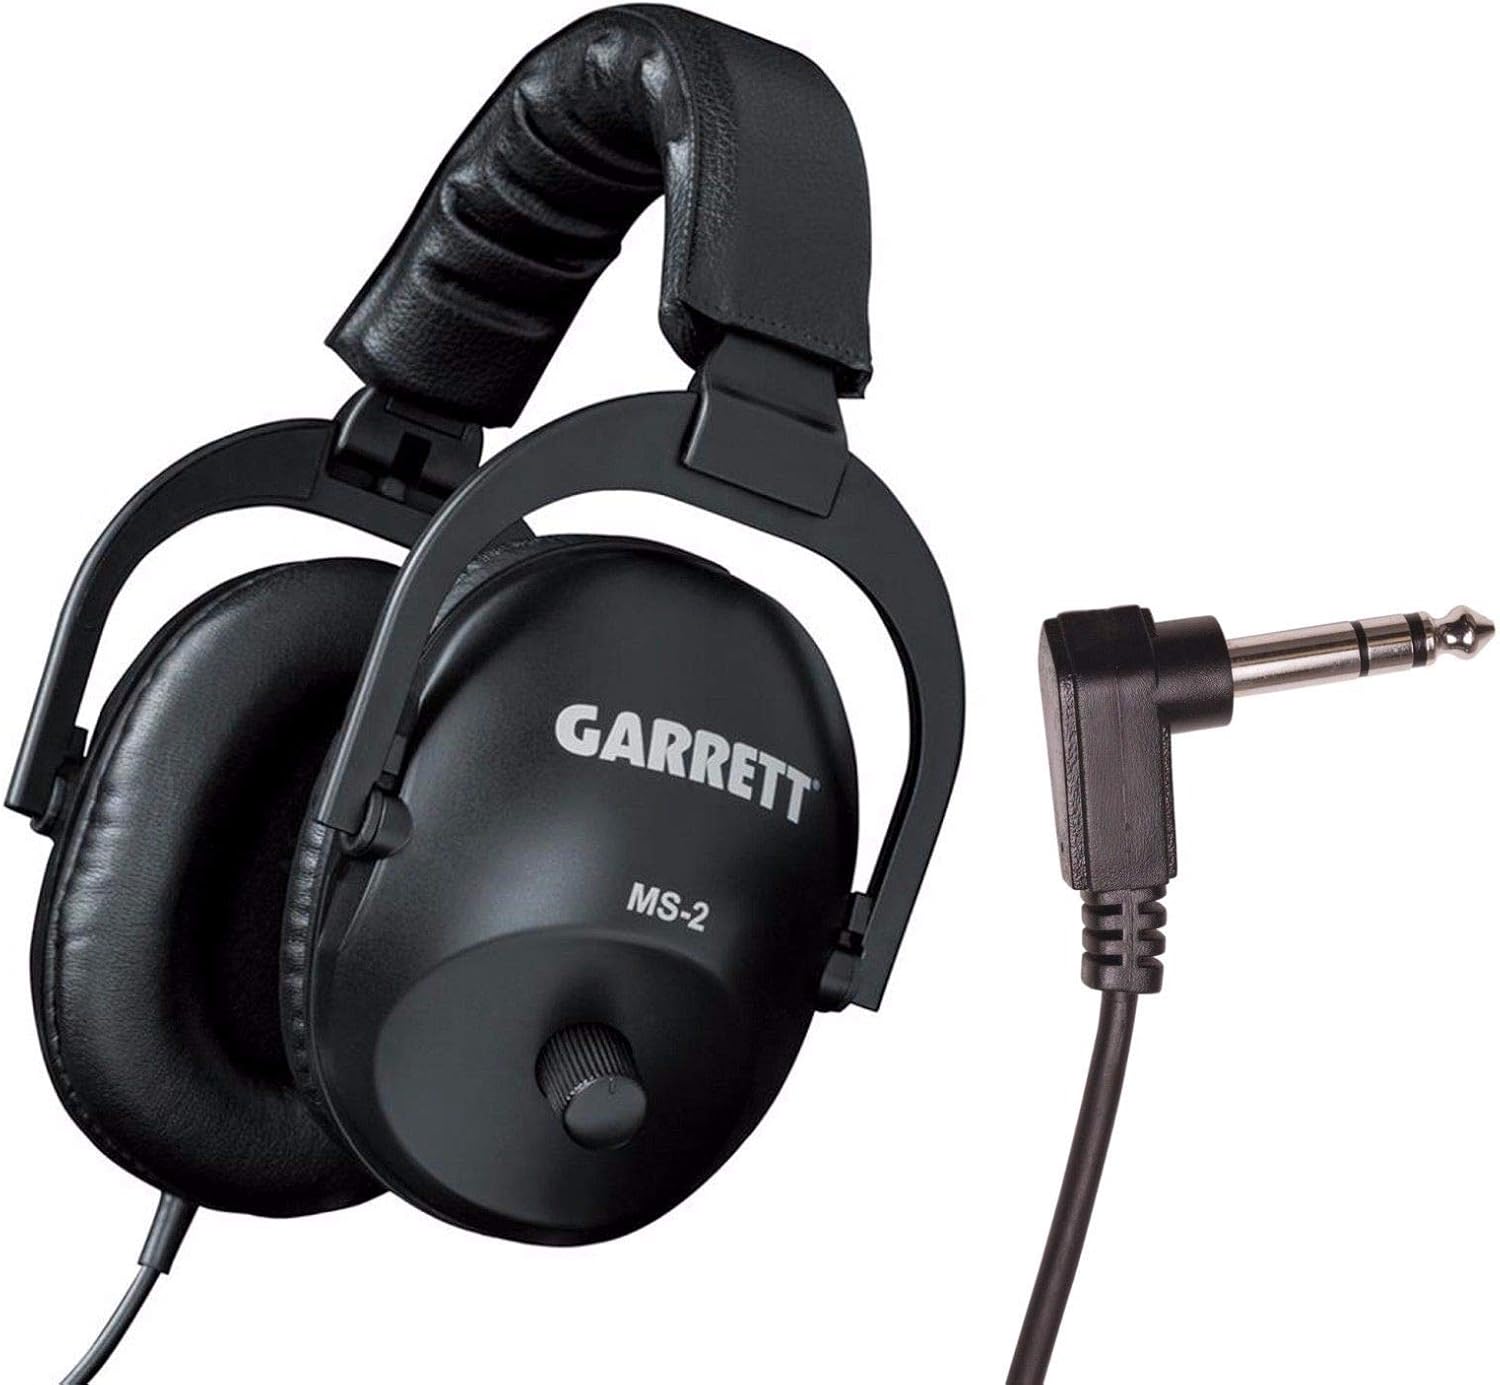
The Garrett MS-2 Headphones use a 1/4 inch right-angle stereo plug and are made for metal detecting use. They include volume control for adjusting signal levels and improving weak-signal listening. The design also uses padded ear cups, an adjustable headband, and a reinforced coiled cable.
Check On AmazonIf you click this link and buy, we earn a commission at no additional cost to you.
Match Recovery Speed to Target Density and Signal Shape
Recovery speed, sometimes called reactivity, affects how quickly the detector separates one response from the next. Higher settings can make adjacent targets easier to distinguish in dense trash or iron. Lower settings may produce a longer response and can help some weak targets stand out in cleaner ground, but the trade-off varies with the detector, mode, coil, mineralization, and sweep speed.
Do not treat the control as a direct depth dial. In a clean field, a slower response may be readable because targets are spaced apart. In an iron-littered foundation area, that same setting can blend several objects into one drawn-out sound, while a faster setting may reveal a short nonferrous response between iron hits.
Sweep discipline matters here. A high recovery setting does not excuse whipping the coil, and a low setting may need slower, more controlled passes so the audio has time to develop. Test a questionable area from different directions and listen for whether the target becomes more isolated or merely shorter.
When the site is target-dense, the right adjustment is the one that improves separation without turning faint responses into clicks you cannot recognize. The detailed trade-offs are covered in matching recovery speed to site conditions.

The Minelab EQX 06 is a round Double-D smart coil designed for Equinox metal detectors. Its compact design is intended for detecting small targets and working in high-trash areas. The coil includes a protective skid plate and is designed for use in difficult terrain.
Check On AmazonIf you click this link and buy, we earn a commission at no additional cost to you.
Save a Profile Only After the Site Has Tested It
A user profile is valuable when it preserves a setup that has already worked in the conditions it was built for. Save it after you have swept real ground, checked a relevant known target, and listened in the site’s trash and interference. A profile created at home may preserve menu choices, but it has not yet proven that the detector will remain readable at the hunt location.
Name or document the profile by situation rather than by a vague label such as “deep.” Useful notes identify the mode, coil, site type, ground behavior, major discrimination choices, and why sensitivity or recovery speed was changed. That context prevents a setup from becoming a magic recipe detached from the conditions that made it work.
Return to the factory profile when several changes make performance worse or when you can no longer explain what each control is doing. A reset is not failure. It removes compounded adjustments and restores a reference point from which you can rebuild one decision at a time.
Warning: If instability continues after the correct factory reset, verified connections, a charged battery, the proper coil, and a reasonable test location, stop treating it as a normal settings problem. Consult the current manual or manufacturer support before continuing to compensate with more menu changes.
The faster route back to useful performance is often fewer changes, not another advanced setting. Once the baseline is stable again, repeat the same setup order and stop at the first adjustment that introduces the problem.
Scott’s Field Setup Card
This is the sequence I want in front of me when a detector sounds busy and the operator has already changed several controls. It keeps hardware, interference, ground, and target-processing decisions from being mixed together. Use the exact procedures and setting scales in your detector’s current manual.
- Record: Photograph or write down the starting mode and settings.
- Verify: Check battery, coil, connector, cable, audio, firmware, and factory profile.
- Select: Choose the closest factory search mode for the site and target goal.
- Quiet: Run noise cancel, scan, frequency shift, or channel selection when provided.
- Ground: Decide whether the mode needs preset, automatic, manual, tracking, or no additional ground balance.
- Calibrate: Raise or lower sensitivity gradually until the audio remains interpretable.
- Confirm: Test a relevant known target at normal sweep height and speed.
- Filter: Set accepted regions, iron information, tones, threshold, and tone breaks for the hunt goal.
- Separate: Adjust recovery speed for target density, ground, coil, and response shape.
- Save or reset: Save only after site testing, or return to the factory profile when the chain becomes unclear.
The card is deliberately ordered. If the detector is reacting to EMI, changing discrimination does not remove the interference. If the ground response is wrong, raising sensitivity only makes that wrong response louder. Each step should solve one identifiable problem before the next control is touched.
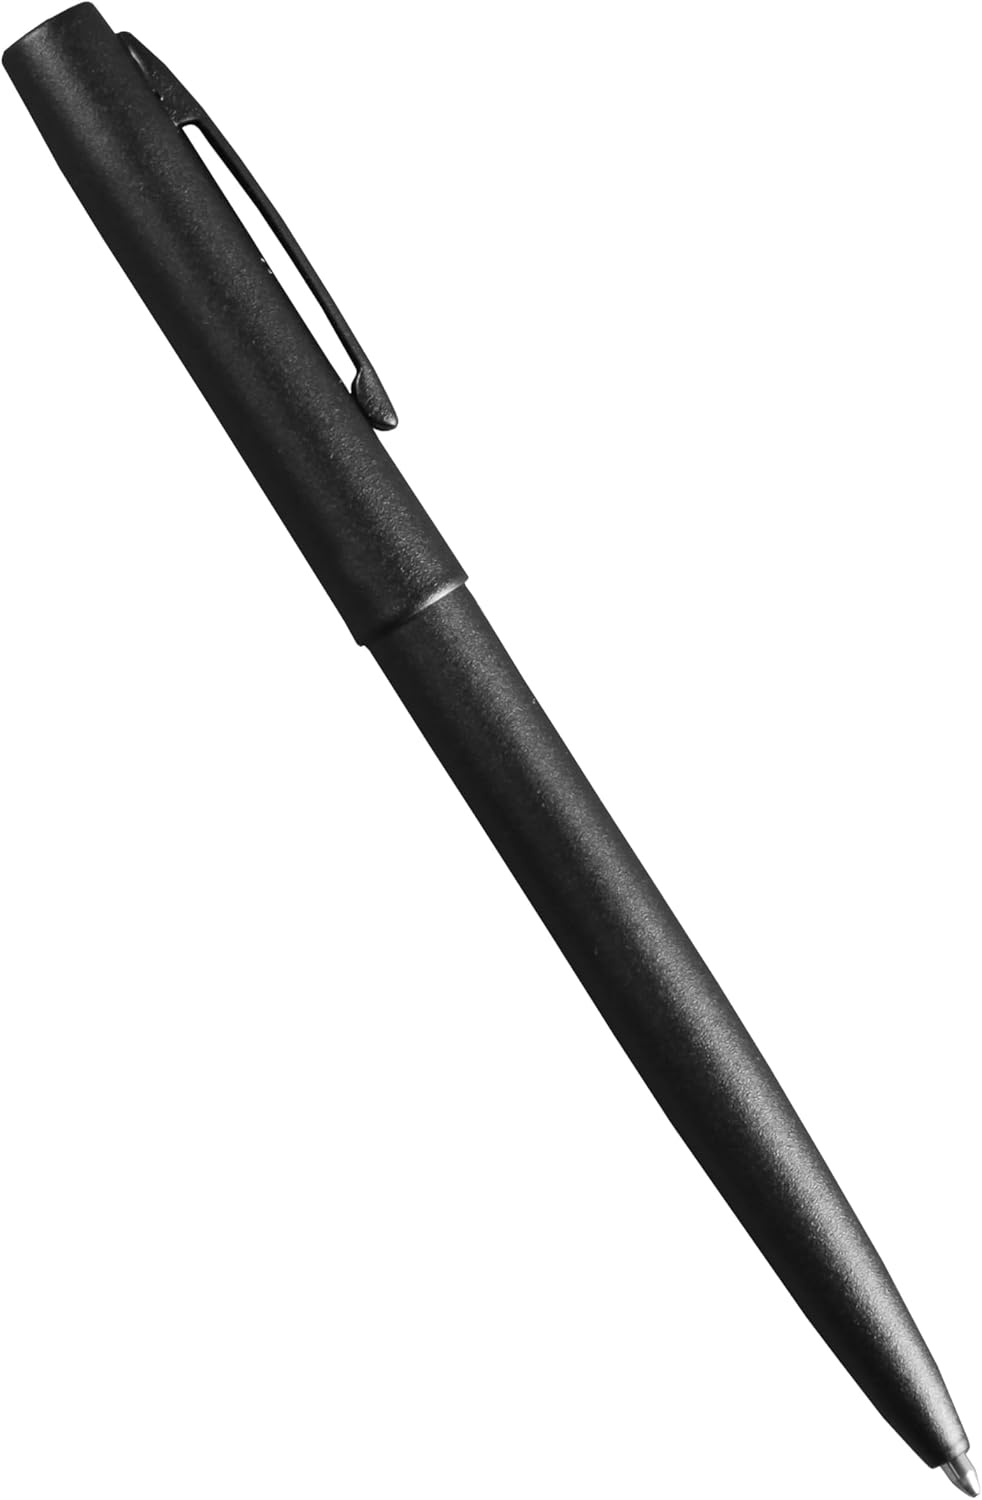
This metal clicker pen uses a pressurized ink cartridge designed for writing in demanding outdoor conditions. The permanent black ink can write through water, grease, and mud without clumping or smearing. It is also designed to work with Rite in the Rain all-weather notebooks.
Check On AmazonIf you click this link and buy, we earn a commission at no additional cost to you.
Final Thoughts: Build a Setup You Can Explain
The most reliable way to learn how to set up a metal detector is to keep the factory profile as a reference, follow a consistent order, and change one variable at a time. Mode establishes the detector’s broad behavior. Noise control and ground balance address the environment. Sensitivity, discrimination, audio, and recovery speed then shape how clearly you can interpret targets within that environment.
I would rather hunt with a slightly conservative setup that gives repeatable information than a maxed-out setup that makes every sweep sound productive. A setting earns its place when you can explain what problem it solved, what trade-off it introduced, and why it still fits the site in front of you.
Explore the Settings That Need Deeper Testing
The setup sequence above shows when each control enters the decision. These focused guides take the next step when one setting becomes the main limit on a site.
| Guide | What It Helps You Decide |
|---|---|
| Ground Balance in Practice | When to use preset, automatic, manual, or tracking ground response control as soil changes. |
| Discrimination and Target Audio | How to reject selected regions while preserving useful iron, tone, and mixed-target information. |
| Recovery Speed by Site | How target density, ground, coil choice, and sweep behavior change the separation trade-off. |
Use the guide that matches the first part of your setup you cannot explain. That keeps the troubleshooting path narrow and prevents unrelated controls from being changed at the same time.
FAQs
⚙️ What are the best metal detector settings for beginners?
Start with the factory mode that matches the site, run the detector’s interference-control procedure, address ground balance when needed, and keep sensitivity near the factory baseline. Change one control only when you can identify the problem it should solve.
📶 Should I run sensitivity at the maximum level?
Only when the detector remains stable and the audio stays interpretable over the actual ground. If chatter, falsing, or unstable responses hide repeatable targets, lower sensitivity until the signal-to-noise relationship improves.
🌎 Do I need to ground balance every time I detect?
Not on every detector, mode, or site. Follow the current manual and check whether clean ground produces a repeatable response before choosing preset, automatic, manual, or tracking ground balance.
🔊 How many tones should I use?
Use the simplest tone system that gives you the information needed for the hunt. More tones can add detail, but they are not useful when the operator cannot separate them during a normal sweep.
🧲 Why does my detector chatter when no target is present?
Chatter can come from EMI, ground response, moving coil cables, unstable connections, nearby metal, or sensitivity set above the usable level. First note whether it happens with the coil still or mainly while sweeping the ground, then follow the setup sequence instead of changing several controls together.
↩️ When should I restore the factory settings?
Restore the factory profile when multiple adjustments have made the detector worse and you cannot identify which change caused it. Record the current setup first, reset using the manual’s procedure, and rebuild one setting at a time.
Sources and References
- Minelab, EQUINOX 900 controls and features: official information on search modes, noise cancellation, ground balance, frequency control, accept or reject controls, and sensitivity adjustment.
- Nokta Detectors, The Legend 2 technical specifications and manuals: official documentation of search modes, user profiles, tones, threshold, ground balance methods, frequency shift, noise cancellation, sensitivity levels, and target ID.
- Garrett, Vortex VX9 control features: official descriptions of sensitivity selection for stable operation, frequency shift for interference, ground balance, and iron audio.
- XP Metal Detectors, DEUS II software update guidance: manufacturer guidance showing how sensitivity and reactivity may need to change with mineralized ground and firmware-dependent behavior.