
Metal detector recovery speed controls how quickly the machine can finish processing one response and become ready to report the next, but faster is not automatically better in trash and slower is not automatically deeper in clean ground. The correct setting depends on target spacing, signal strength, sweep speed, coil footprint, mineralization, and the way the specific detector names and scales the control. Start from the search-mode default, stabilize sensitivity and ground behavior, then change recovery one step at a time while listening to the same targets. The goal is not the highest or lowest number, but the clearest usable response with the least masking and the least unnecessary loss of weak-target audio.
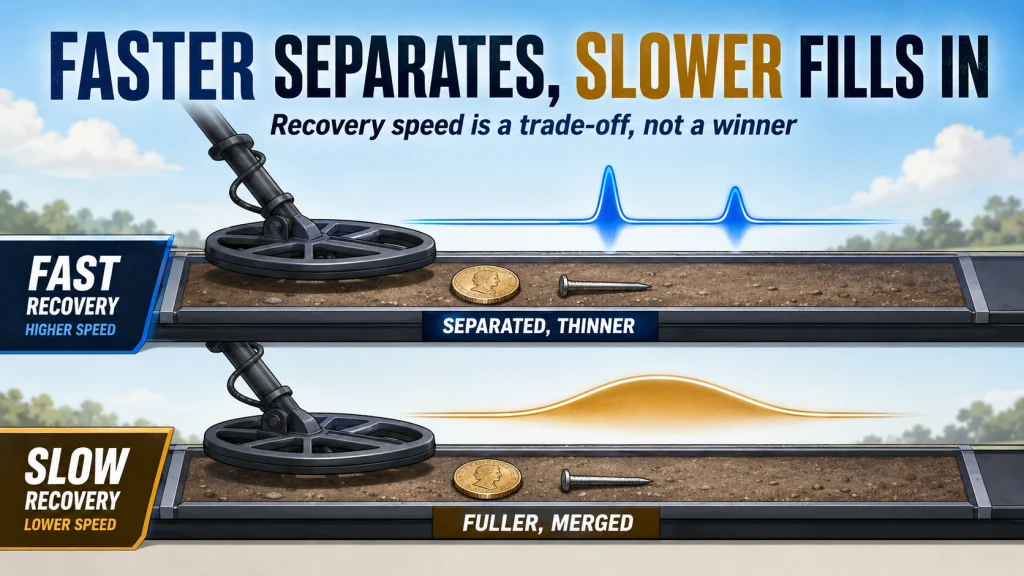
Recovery Speed Is a Balance, Not an Extreme
Metal detector recovery speed is often reduced to a shortcut: use fast recovery in trash and slow recovery for depth. That shortcut points in the right general direction, but it leaves out the conditions that decide whether the adjustment actually helps. A faster setting may separate two close responses, yet it can also shorten a faint target into a clipped sound that is harder to recognize. A slower setting may give an isolated target a fuller audio shape, yet it can let nearby iron, ground response, or another target occupy more of the audio window.
I treat recovery speed as a calibration control, not a performance score. The correct question is not, “How fast can this detector recover?” It is, “How much recovery do I need for this target spacing, this ground, this coil, and this sweep?” That change in question prevents the common mistake of raising the setting until the detector sounds busy and assuming the extra activity means extra finds.
Key point: Faster recovery can improve separation, while slower recovery can preserve a fuller weak-target response. Neither direction guarantees more effective depth because the result depends on the complete setup and the site.
Identify the Exact Control Before Changing It
Manufacturers do not use one universal name, scale, direction, or internal design. A control may be labeled Recovery Speed, Reactivity, Response Speed, Target Separation, or another platform-specific term. On some current detectors, a higher value means faster processing. Another platform may use a different range, different defaults by search mode, or extra filters that change what the same numerical setting sounds like.
Read the current manual for the detector and installed firmware before copying any value. Confirm the control name, which direction is faster, the available range, the factory default for the active mode, and whether related audio or iron filters change at the same time. A recovery value quoted without its model, mode, coil, and firmware is not a transferable recipe.
- Confirm the exact setting name used by the detector.
- Confirm whether higher or lower values mean faster recovery.
- Check the default for the selected search mode.
- Check whether the scale changes by mode or software version.
- Identify linked controls such as audio response, iron filtering, stability, or target separation.
- Verify that the adjusted profile is actually saved and recalled.
Build a Stable Baseline Before Testing Recovery
Begin with the factory default for the search mode that matches the site. A default is not always the final answer, but it gives you a known reference instead of a stack of unknown changes. Before touching recovery speed, select the correct mode, perform any required noise cancel or frequency scan, establish stable sensitivity, and confirm that the detector is responding normally to the ground.
Ground behavior must be settled first because mineralization and changing soil can imitate a recovery problem. If the detector is already chattering, falsing at the end of each swing, or responding to clean ground, increasing recovery may only shorten the noise rather than solve its cause. Use the same sequence described in setting ground balance in changing soil before deciding that close targets are the real problem.
Discrimination also needs a known starting point. Aggressive rejection can silence or break a wanted response near iron, which may look like slow recovery even when the processing speed is not the main limitation. Keep the initial pattern simple and review using discrimination without masking wanted targets before changing two masking-related controls at once.
Field Note: I do not judge a recovery change by whether the detector becomes quieter or more active. I judge it by whether the same target pair separates more clearly without turning an isolated weak signal into a clipped chirp.
Listen for Four Observable Effects
Recovery speed changes what you hear more clearly than it changes what you see on the control panel. The first effect is spacing: two close targets may merge into one broad response at one setting and become two distinct responses at another. The second is audio length: a higher-reactivity setting often produces a shorter, tighter sound, while a slower setting may allow a longer response to develop.
The third effect is weak-signal strength. A faint isolated target may remain detectable at a faster setting but lose enough audio body that the operator no longer recognizes it as repeatable. The fourth is stability. Depending on the platform and ground, a setting that is too slow may let ground or iron responses smear together, while a setting that is too fast may make the audio feel clipped, restless, or difficult to interpret.
| What changes | Faster recovery may do | Slower recovery may do | What to judge |
|---|---|---|---|
| Close-target separation | Create a clearer gap between adjacent responses. | Blend close responses into a wider audio event. | Can you hear two repeatable targets from more than one direction? |
| Weak-target audio | Shorten or thin the response. | Allow a fuller, longer response. | Does the isolated target remain recognizable rather than merely audible? |
| Iron masking | Help the machine become ready for a nearby nonferrous response sooner. | Let the iron response occupy more of the audio window. | Does the wanted target appear beside iron without creating excessive falsing? |
| Ground and audio stability | May tighten responses but can make the audio feel clipped. | May smooth weak signals but can smear changing ground or adjacent targets. | Which setting produces repeatable information at a controlled sweep? |
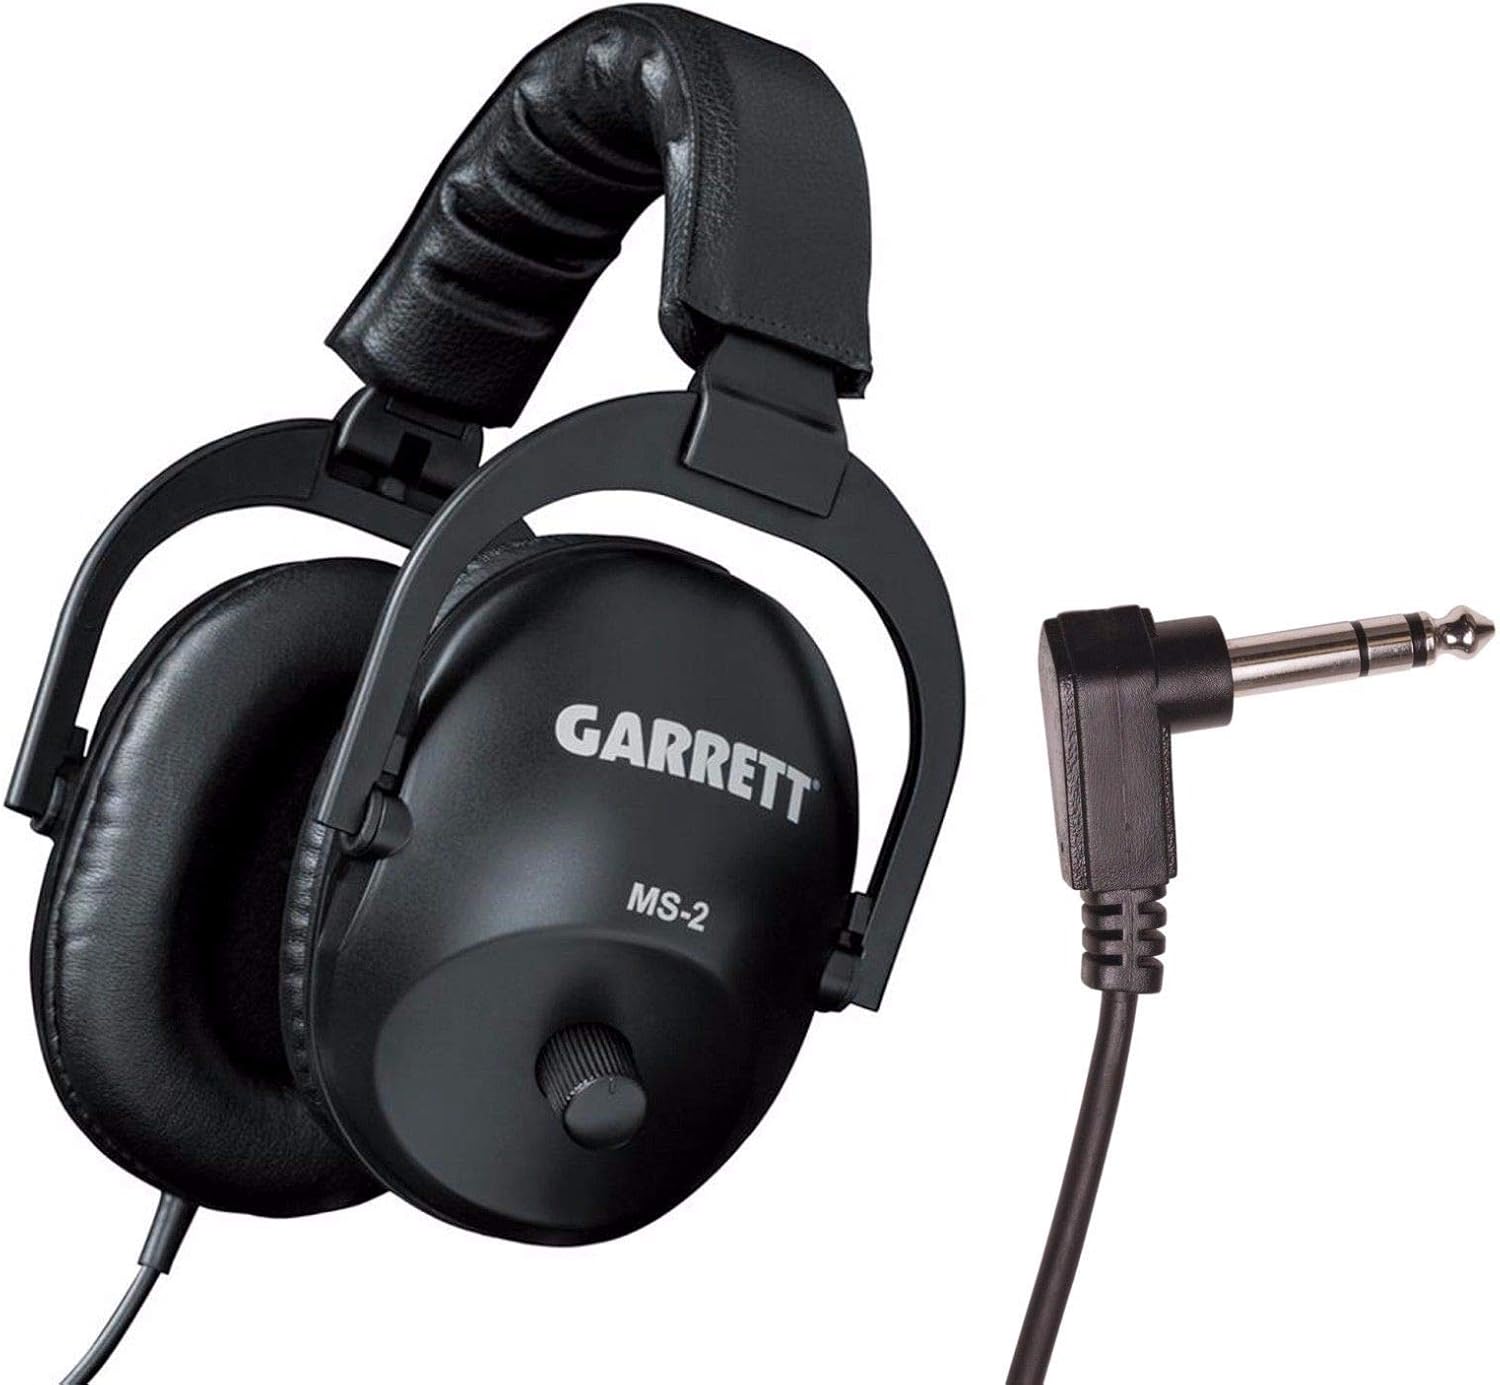
The Garrett MS-2 Headphones use a 1/4 inch right-angle stereo plug and are made for metal detecting use. They include volume control for adjusting signal levels and improving weak-signal listening. The design also uses padded ear cups, an adjustable headband, and a reinforced coiled cable.
Check On AmazonIf you click this link and buy, we earn a commission at no additional cost to you.
Use One Controlled Masking Test
A useful test needs one isolated weak target and one close target pair. The isolated target shows whether the adjustment is stripping away too much signal body. The close pair shows whether the faster setting actually creates separation. Testing only a clean coin on the surface makes nearly every setting look acceptable, while testing only dense iron can push the machine faster than the rest of the site requires.
Use a clean patch first. Place or bury a representative nonferrous target at a depth where the response is clear but not oversized, then place a ferrous item beside a second equivalent target. Keep target positions, coil height, sweep direction, sweep speed, sensitivity, ground balance, discrimination, and audio settings unchanged throughout the test.
- Start at the search-mode default and sweep the isolated target from two directions.
- Record the audio length, strength, repeatability, and target identification behavior.
- Sweep the close target pair at a controlled pace from at least two directions.
- Move recovery one step in the faster direction and repeat the same passes.
- Continue only while separation improves without unacceptable loss of weak-target audio.
- Return one step when the isolated response becomes too clipped, unstable, or difficult to recognize.
- Repeat the test in a contaminated section using an undisturbed in-ground target before saving the profile.
Increase Recovery When Responses Merge
Move gradually toward faster recovery when a wanted response is consistently swallowed by nearby iron or when two close targets sound like one long event. The useful sign is not a louder detector. It is a clearer break between responses, a repeatable nonferrous edge beside iron, or a target that becomes identifiable from an additional sweep direction.
Dense modern trash can also justify a faster setting, but do not treat every chirp as a separated target. Pull tabs, foil, bottle caps, nails, and irregular metal can create several audio edges under one coil pass. Cross-sweep the location, shorten the sweep, and confirm that the response occupies a stable position before deciding the faster setting has uncovered a second object.
Pro Tips: Increase one step, make the same four or five passes, and stop when the next increase adds noise or shortens the isolated weak target more than it improves separation.

This pocket notebook uses weatherproof paper designed for outdoor fieldwork. Each notebook has 100 pages with a top-spiral format and an impact-resistant Wire-O binding. The Polydura cover helps protect field notes from scratches and stains during use.
Check On AmazonIf you click this link and buy, we earn a commission at no additional cost to you.
Reduce Recovery When Weak Signals Need More Shape
Move gradually toward slower recovery when targets are isolated and faint responses sound too short to evaluate. The improvement should appear as more audio body, a smoother repeatable response, or a weak target that can be followed across the center of the coil rather than heard as a single tick. This is most useful when the site is relatively clean and the operator has room to control the sweep.
Do not keep reducing the setting merely because the audio becomes longer. A broad response can hide two adjacent targets, stretch an iron signal into the next coil position, or make changing ground sound target-like. The correct stopping point is where the weak target gains useful shape without causing nearby responses or ground noise to merge.
Match Recovery Speed to the Actual Sweep
Recovery speed and sweep speed interact, but they are not the same control. A fast processing setting cannot separate targets if the coil is swung so quickly that both targets pass through the detection field as one rushed event. A slower processing setting can also work poorly with an overly rapid sweep because the detector has less time to finish one response before the next target enters the active area.
Use a controlled sweep that keeps the coil level and overlapping. In dense iron, shorten the swing and work the target from several angles rather than waving faster. In clean ground, a slightly broader sweep may be practical, but the speed still needs to preserve a repeatable response on the weakest target you intend to investigate.
When changing recovery, keep sweep speed constant during the test. After choosing the setting, adjust the field pace and confirm that the response survives your natural swing. This is one reason practical metal detecting tips for the field matter more than copying a settings screen: the operator’s coil movement is part of the signal chain.
Coil Footprint Changes the Separation Problem
Recovery speed determines how quickly responses are processed, while the coil determines how much ground and how many targets enter the detection field at once. A wider footprint can place several objects under the coil during one pass, creating a masking problem that a faster setting can reduce but not fully erase. A narrower footprint may isolate the same targets before any recovery adjustment is made.
This does not mean a small coil is automatically better. It usually covers less ground per sweep and may change target response, depth on larger objects, and the amount of ground sampled. The practical choice is to match coil footprint and recovery together: use enough processing speed for the target density, then judge whether the coil is still seeing too many objects at once.

The Minelab EQX 06 is a 6-inch round Double-D smart coil for Equinox metal detectors. Its compact footprint is designed for detecting small targets and working in high-trash areas where target separation matters. The coil also includes a protective skid plate.
Check On AmazonIf you click this link and buy, we earn a commission at no additional cost to you.
Mineralization Can Change the Best Setting
Mineralized or rapidly changing ground adds another response the detector must process. A recovery setting that sounds smooth in mild soil may become smeared when the coil crosses concentrated mineralization, or it may need more reactivity to keep ground response from occupying too much of the audio window. On another platform, raising the setting too far may shorten already weak target signals and make the ground sound busier.
That is why recovery should be tested in both clean and contaminated sections of the actual site. Recheck ground balance when the soil changes, then repeat the isolated-target comparison before blaming the recovery control. A setting cannot compensate for an incorrect ground procedure, unstable sensitivity, electrical interference, or a coil being lifted at the end of each sweep.
Hot rocks and iron mineralization deserve particular caution because they can create short responses that resemble the clipped audio of a fast setting. Cross-sweep, reduce sensitivity if the detector is unstable, and compare the response against nearby clean ground. Do not increase recovery merely to make every ground response shorter.
Compare the Factory and Adjusted Profiles
After finding a promising setting, save it as a separate profile rather than overwriting the known baseline. The factory profile answers whether the adjustment genuinely improved the site. The adjusted profile answers whether the improvement is large enough to justify the extra audio activity or weak-signal trade-off.
Compare both profiles over the same undisturbed targets. Include one isolated weak response, one target beside iron, one section of clean ground, and one section of changing ground. Do not compare one profile in the morning and the other after soil moisture, interference, sweep pace, or fatigue has changed.
| Test point | Factory profile | Adjusted profile | Decision |
|---|---|---|---|
| Isolated weak target | Record audio body and repeatability. | Check whether the target remains recognizable. | Reject the change if useful signal shape is lost. |
| Target beside iron | Record masking and available sweep angles. | Check for a clearer gap or additional repeatable angle. | Keep the change only if separation is real and stable. |
| Clean ground | Record baseline chatter and falsing. | Check whether the setting adds unnecessary activity. | Prefer the simpler profile when no field problem is solved. |
| Changing ground | Record smearing or ground response. | Check whether recovery helps after ground balance is correct. | Do not use recovery to hide a ground-setting error. |
Keep that comparison inside a repeatable metal detector settings sequence so recovery remains the only variable being judged.
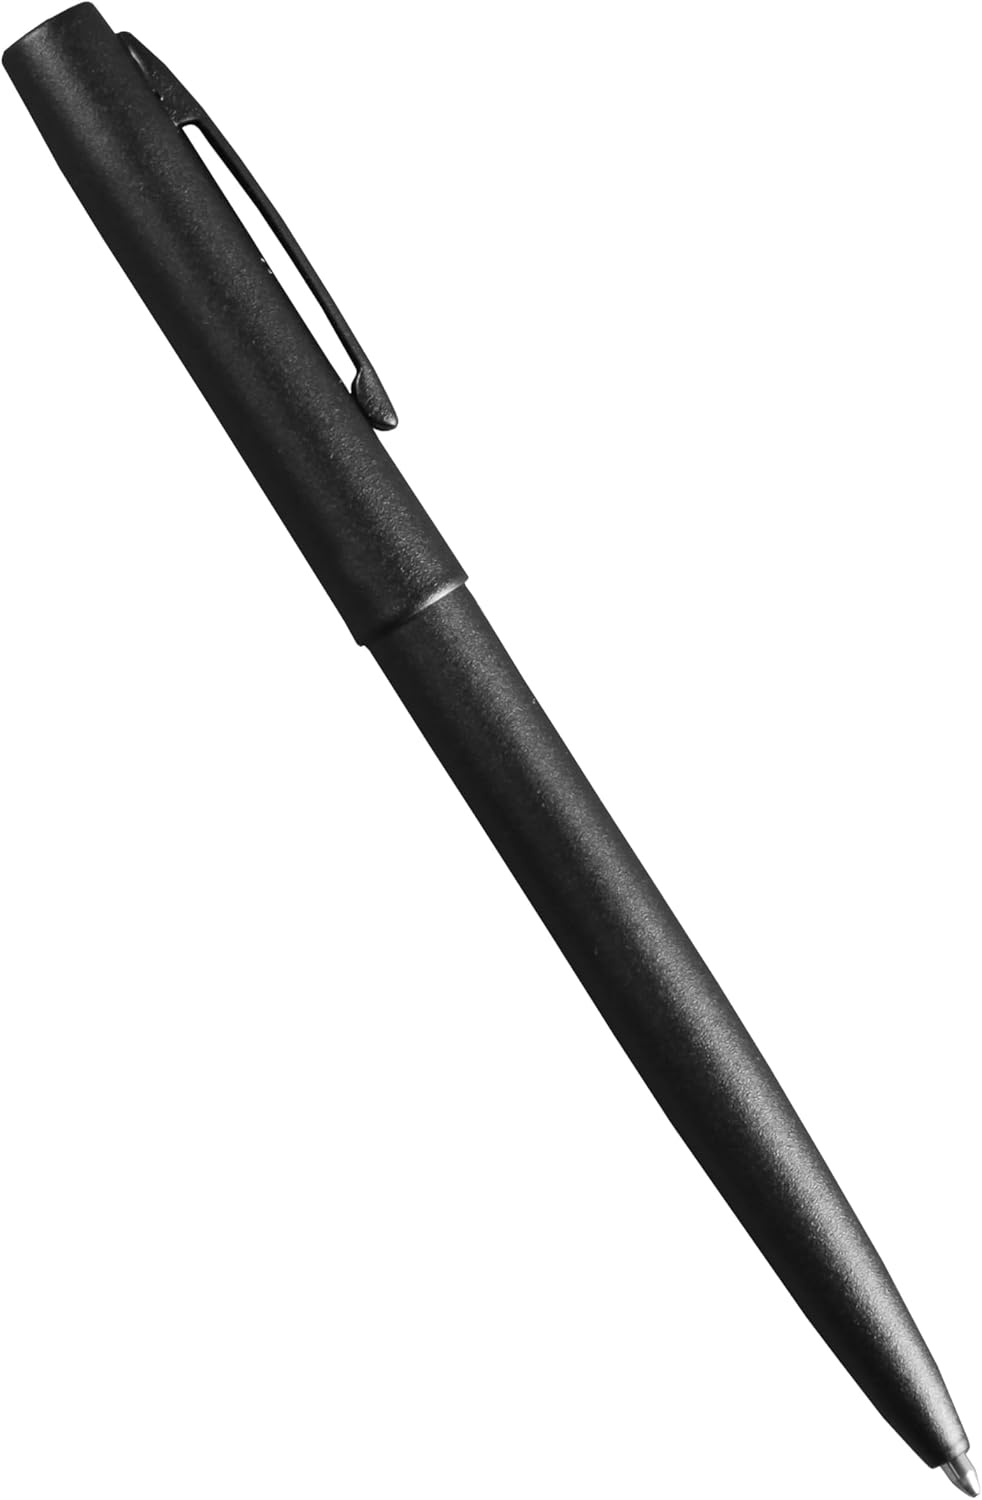
This Rite in the Rain metal clicker pen uses a pressurized all-weather ink cartridge. Its permanent ink is designed to write through water, grease, and mud without clumping or smearing. The pen is also designed to work with Rite in the Rain all-weather notebooks for outdoor field notes.
Check On AmazonIf you click this link and buy, we earn a commission at no additional cost to you.
Check Firmware and Saved Profiles
Software updates can change defaults, add related filters, revise mode behavior, or alter how a saved program sounds. A recovery value recorded before an update may not reproduce the same result afterward. Read the release notes, confirm the installed version, and retest the profile after any update that mentions audio, ground handling, iron filtering, target separation, or reactivity.
Also verify that the detector saves the control where you think it does. Some settings are global, some belong to one mode, and some reset when a factory program is restored. Turn the machine off, restart it, recall the intended profile, and confirm the recovery value before relying on it at a distant site.
- Record the firmware version with the profile notes.
- Record the search mode, coil, ground procedure, sensitivity, discrimination, and recovery setting.
- Check release notes before and after an update.
- Confirm whether custom profiles survive the update or reset process.
- Retest both separation and isolated weak-target audio after software changes.
Use This Recovery Speed Decision Path
The final setting should answer a field problem you can describe. If close responses merge, move one step faster and retest. If isolated weak targets are too clipped, move one step slower and retest. If the machine is unstable over clean ground, stop adjusting recovery and diagnose sensitivity, interference, coil control, or ground behavior first.
- Close targets merge: increase recovery gradually while watching weak-target audio.
- Iron masks a nearby response: shorten the sweep, cross-sweep, then test one faster step.
- Isolated faint targets sound clipped: reduce recovery gradually if target density allows it.
- Ground response smears: verify ground balance and stability before testing more recovery.
- The larger coil sees too many targets: consider footprint before pushing the control to an extreme.
- The adjusted profile adds no clear advantage: return to the search-mode default.
- A firmware update was installed: confirm direction, defaults, linked controls, and saved values again.
The best metal detector reactivity setting is the lowest or highest value only by coincidence. In normal use, it is the point where separation becomes adequate and the next step begins to damage signal quality, stability, or interpretability.
Final Thoughts: Tune for the Targets You Can Actually Hear
Recovery speed should solve a measured field problem. Start with the correct mode and a stable detector, test one isolated weak target and one close pair, keep sweep and coil conditions constant, then adjust one step at a time. Faster settings earn their place when they create usable separation. Slower settings earn their place when they preserve useful signal shape without allowing nearby responses or ground noise to merge.
I would keep the factory default over a custom setting that only sounds more impressive. The useful profile is the one that can be repeated, explained, and matched to the site’s target density, ground, coil footprint, and sweep. Once the next step in either direction makes the response worse, the adjustment is finished.
FAQs
⚡ Does faster recovery speed reduce depth?
It can shorten or weaken the audio shape of a marginal target, which may reduce effective detection for the operator. The exact trade-off depends on the detector, mode, coil, ground, and related settings, so test an isolated weak target instead of assuming a fixed depth loss.
🐢 Is slow recovery always better in clean ground?
No. Slower recovery may give isolated signals more body, but excessive slowing can smear changing ground or nearby responses. Reduce it only while the target becomes easier to recognize and the site remains stable.
🔩 What recovery speed should I use in dense iron?
Start from the mode default and increase one step at a time until a nearby nonferrous response separates more clearly. Stop when another increase adds falsing or clips the isolated weak-target test.
🎧 Why does a high recovery setting sound choppy?
Faster processing can produce shorter target sounds, and unstable sensitivity, iron edges, or mineralized ground can make those sounds feel busier. Confirm the ground and sensitivity baseline before deciding the setting is too fast.
🌀 Should I swing faster with a fast recovery setting?
No. Faster recovery does not replace controlled coil movement. Keep the coil level, overlap sweeps, and shorten the pass in dense targets so each response has a fair chance to separate.
📏 Does a smaller coil replace recovery-speed adjustment?
No. A smaller footprint may place fewer targets under the coil, while recovery determines how quickly responses are processed. Test them as separate changes so you know which one solved the masking problem.
If the manual’s scale or direction differs from the language used here, follow the current manual and judge the same observable effects: spacing, audio shape, stability, and weak-target recognition.
Sources and References
These official manufacturer resources were used to verify that recovery-related controls, scales, defaults, linked filters, and firmware behavior vary by platform and software version.
- Minelab Product Manuals and Catalogues: Current instruction manuals used to verify Recovery Speed terminology, mode-specific settings, and manufacturer guidance.
- XP Metal Detectors User Manuals: Current manuals used to verify Reactivity terminology, audio trade-offs, and platform-specific control behavior.
- Nokta Detectors Brochures and Manuals: Current manual library used to check Recovery Speed terminology, software-dependent settings, and linked controls.
- XP Metal Detectors Software Update Notes: Official update information showing that firmware can change ground, audio, and reactivity guidance.
- Nokta Detectors Software and Product Updates: Official update history showing that software can add or revise filters and settings connected to target response and stability.
Always use the manual and release notes for the exact detector, installed firmware, search mode, and coil before copying a setting value.