
Ground balance is useful when the detector is reacting to the soil, but it is not a setting that every machine needs adjusted at every site. First identify whether your detector uses a fixed preset, automatic ground grab, manual adjustment, tracking, or a mode-specific system, then follow the current manual for that exact detector and search mode. Balance only over metal-free ground, verify the result before hunting, and repeat the procedure when the ground or operating mode changes enough to make the machine respond differently. If the noise remains, test for EMI, coil contact, excessive sensitivity, cable movement, and hardware trouble before assuming the ground balance failed.

Ground Balance Is Not Automatically Required at Every Site
Learning how to ground balance a metal detector starts with deciding whether the machine should be adjusted at all. Some detectors use a factory-set ground balance. Others default to a value or processing method intended for mild ground, and some search modes handle the ground differently from the rest of the detector. If the manual says the selected mode should remain at its preset or default in ordinary conditions, changing it only because the control exists can make the setup worse.
Ground balancing is needed when the coil responds to soil strongly enough to interfere with stable searching or target recognition. Signs include a broad response as the coil rises and falls, false signals across clean soil, threshold changes tied to movement, or instability after entering different ground. It is not a ritual required before every swing.
Key point: Use ground balance to solve a ground-response problem or to follow a model-specific setup requirement. Do not adjust it simply because another detectorist uses a certain number or repeats the procedure at every site.
The broader metal detector settings sequence puts ground balance after mode and interference checks for a reason. A detector that is in the wrong mode or chattering from EMI does not become correctly configured just because the ground balance control was changed.
Identify the Exact Ground Balance System on Your Detector
Before touching the setting, identify what the control actually does on the detector in your hands. Manufacturers use similar words for systems that behave differently, and one detector may offer several methods depending on the selected mode. The display value is also a detector-specific control value, not a universal soil score that can be compared directly across brands or models.
Use the manual, current firmware notes, and the detector’s mode description to place the system into one of these practical groups:
| System | What the operator controls | What to verify in the manual |
|---|---|---|
| Preset or fixed | The ground response is handled by a factory setting or non-adjustable design. | Which ground and modes the preset is intended for, and whether another mode is required for conductive ground. |
| Automatic ground grab | The detector samples the ground while a button is held or a command runs. | Whether the coil must be pumped, swept, held still, or moved through another specified pattern. |
| Manual adjustment | The operator changes a value while listening to the ground response. | Which response to reduce, which control direction changes the balance, and the required coil movement. |
| Tracking | The detector updates ground balance continuously or periodically while searching. | When tracking is recommended, how quickly it updates, and when it should be paused or turned off. |
| Mode-specific balance | The available method, default, or stored value changes with the search mode. | Whether each mode stores its own balance and whether switching modes resets or carries the value. |
Frequency architecture does not determine the ground balance method by itself. A single-frequency detector may use a fixed preset, automatic grab, manual control, or tracking, and a simultaneous multi-frequency detector may use the same options or a mode-specific process. When comparing detectors, focus on whether the balance method fits how often your ground changes and how much setup you want to manage. Quick automatic balance or well-behaved tracking can reduce interruptions in variable soil, while a fixed or simple manual system may be completely adequate in mild, uniform ground.
A machine can fit more than one row. One mode may offer automatic, manual, and tracking options while another uses a separate default. That is why generic instructions such as “pump the coil and set it to zero” are unreliable.
Note: Firmware updates can change menu access, defaults, tracking behavior, or the wording used on the screen. Read the manual revision and update notes that match the detector’s current software rather than relying on an older video.
Decide Whether the Ground Is Actually Causing the Problem
Begin with a short behavior test. Select the intended mode, complete any required noise cancel, and set stable sensitivity. Compare the detector with the coil stationary, moving in the air, and moving over clean ground. This separates soil response from problems that sound similar.
Ground response is more likely when the machine is quiet with the coil held still but reacts as the coil approaches, leaves, or sweeps across apparently clean soil. The response may change as the ground color, moisture, mineral content, fill material, or concentration of hot rocks changes. A repeatable pinpointable signal, by contrast, may be a buried object rather than ground.
Field Note: I have seen a setup run quietly in open pasture and become noticeably less stable near an old foundation about fifty yards away. The important change was not the detector brand or the time of day. The ground around the former structure contained different mineral and debris conditions, so the balance that worked in the pasture needed to be checked again before treating every response as a target.
If the detector remains noisy while the coil is motionless in the air, deal with interference or hardware first. If it reacts only when the coil touches grass, rocks, or uneven ground, check sensitivity, coil control, the skid plate, cable, connector, and coil mounting before changing the metal detector ground balance setting.

This Minelab skidplate is made to protect a search coil from scratches, dirt, dust, and moisture. The listing specifically notes that trapped dirt, dust, and moisture should be removed through regular cleaning. This 6-inch replacement accessory is compatible with the Minelab CTX 3030.
Check On AmazonIf you click this link and buy, we earn a commission at no additional cost to you.
Find a Metal-Free Patch Before Running the Procedure
An automatic or manual balance can be wrong from the start if the coil is sampling a target instead of the ground. Search a small patch in an all-metal or minimally filtered response when the manual allows it. Sweep from more than one direction and move away from any repeatable signal, iron grunt, overload, or concentrated hot-rock response.
Visually clean ground can still contain nails, foil, irrigation parts, wire, or old fill. In a trash-heavy site, several attempts may be needed to find a patch large enough for the required coil movement.
- Move away from obvious metal structures, fences, vehicles, reinforced concrete, and buried utilities.
- Keep the coil cable secure so it cannot move against the shaft during the test.
- Remove loose metal from boots, digging tools, and nearby bags if it enters the coil’s field.
- Check the patch in at least two sweep directions before accepting it as clean.
- Use the coil height and motion specified by the detector manual, not a remembered number from another machine.
If an automatic ground grab will not settle, gives sharply different results on repeated attempts, or returns a default value without reducing the response, move to another patch before assuming the machine is defective. Weak ground response, hidden metal, or the wrong procedure can all prevent a useful sample.

VELCRO Brand ONE-WRAP Cable Ties are reusable straps designed for bundling and securing cords and wires. Each strap measures 8 inches by 1/2 inch and can be wrapped around a cable bundle without a separate fastener. This package contains 100 black pre-cut cable ties.
Check On AmazonIf you click this link and buy, we earn a commission at no additional cost to you.
Run Automatic Ground Balance Exactly as the Manual Specifies
Automatic ground balance is often described as a ground grab, but the detector still needs the correct input. One machine may require smooth pumping while a button is held. Another may learn through a sweep, a figure-eight pattern, a short sample, or a startup sequence. The command may also switch the detector temporarily into another response or require the coil to remain parallel to the surface.
Use this sequence without inventing a universal pumping height or count:
- Select the search mode you will actually use.
- Confirm that automatic ground balance is available and enabled in that mode.
- Locate a metal-free patch large enough for the required movement.
- Place and move the coil exactly as the current manual directs.
- Hold the required button or run the command until the detector signals completion.
- Release the control, return to the search screen, and test the ground response again.
Do not continue pumping after the detector has completed the sample unless the manual says to do so. More movement does not necessarily create a better setting. It can expose the coil to nearby metal, change the sampled patch, or cause the operator to strike the ground.
If the automatic procedure completes but the machine still responds strongly to clean ground, repeat it once over a different clean patch. After that, check mode, sensitivity, ground type, EMI, and the manual’s troubleshooting instructions instead of running the same command indefinitely.
Adjust Manual Ground Balance by Response, Not by a Universal Number
With manual ground balance, the operator changes the balance value directly, but the adjustment direction is not standardized. On one design, raising the displayed value may reduce the response heard as the coil approaches the ground. On another, the manual describes positive and negative responses differently or uses a control that does not map cleanly to a simple higher-or-lower rule.
Follow the detector’s instructions while repeating the required coil movement over clean soil. Make small adjustments, listen to how the response changes, and work toward the condition the manual defines as balanced. That may be a reduced difference between the upward and downward motion, a smoother threshold, a smaller ground signal, or another model-specific result.
Warning: Never copy another user’s ground balance number as a starting truth for your site. The number can depend on the detector, coil, mode, software, soil, moisture, and the way the manufacturer scales the control.
Stop when the detector meets its stated balance condition. Chasing absolute silence can lead to over-adjustment, especially when the remaining noise is EMI, a hot rock, excessive sensitivity, or a target beneath the test patch. The correct setting is the one that reduces the relevant ground response without creating a new problem in the selected mode.
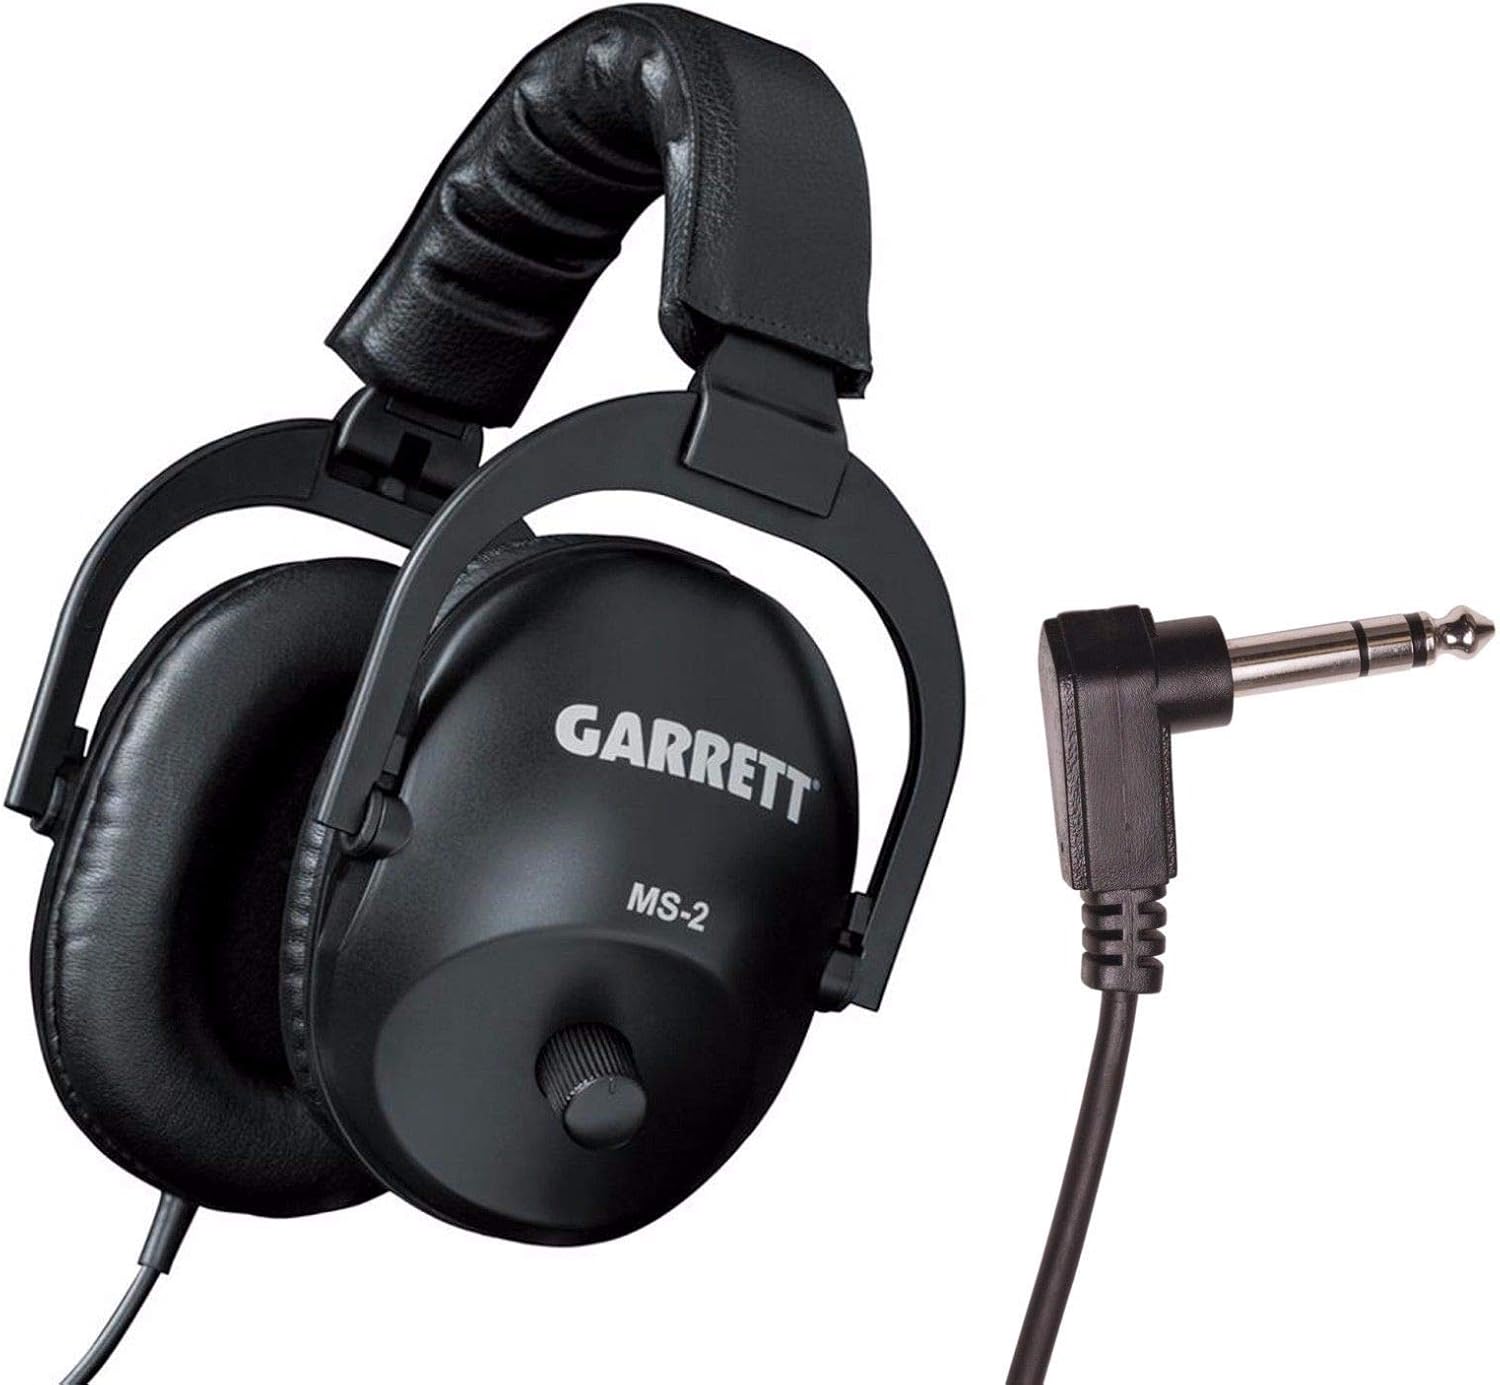
The Garrett MS-2 Headphones use a 1/4 inch right-angle stereo plug and are made for metal detecting use. They include volume control for adjusting signal levels and improving weak-signal listening. The design also uses padded ear cups, an adjustable headband, and a reinforced coiled cable.
Check On AmazonIf you click this link and buy, we earn a commission at no additional cost to you.
Use Tracking When the Ground Changes Faster Than a Fixed Setting Can Follow
Tracking ground balance allows the detector to update as the soil changes. It can be useful across bands of mineralization, hot-rock patches, changing moisture, or transitions between materially different ground. On machines designed around continuous tracking, it may be the normal operating method rather than an advanced option.
Tracking is not automatically the best choice for every hunt. Some manuals advise turning it off in mild uniform ground, during pinpointing, or when repeatedly sweeping a faint target. A system that learns from the ground may also need enough ordinary ground movement between target checks to update correctly. Follow the model’s instructions rather than assuming all tracking systems use the same speed or safeguards.
When crossing from dry sandy soil into a damp, iron-rich drainage strip, tracking may help if the ground changes gradually. Stop over a clean patch when target responses become crowded or uncertain, because tracking cannot identify whether every changing signal comes from soil, a hot rock, or buried metal.
If tracking produces less stable target audio or the manual recommends a fixed value for the selected situation, perform the specified balance procedure and switch to the recommended fixed or manual state. The purpose is stable ground handling, not keeping the tracking icon active.
Verify the Result Over Clean Ground and a Known Target
A completed command or displayed value is not the end of the procedure. Sweep the clean patch again using normal coil height and speed. Raise and lower the coil only if that movement is part of the detector’s verification method. The ground response should be reduced to the condition described in the manual, and the machine should remain stable enough to hear a repeatable target.
Next, pass the coil over a suitable known target placed on the surface away from other metal. Choose a target type relevant to the hunt and test it from more than one direction. This does not prove detection depth, but it confirms that the selected mode, audio, discrimination, sensitivity, and ground balance still produce a recognizable response.
If the ground is quieter but the known target becomes weak or inconsistent, return to the manual and check whether the balance was over-adjusted, the wrong mode was used, tracking changed during the test, or another setting is masking the target. Do not compensate immediately by raising sensitivity to an unstable level.
Ground balance works alongside the rest of the setup. The guides to setting discrimination without hiding targets and matching recovery speed to site conditions explain two nearby controls that can change what you hear even when the detector is correctly balanced.
Repeat Ground Balance When a Meaningful Condition Changes
There is no universal reset schedule. Recheck the balance when detector behavior changes or when the manual requires a new sample. A transition from dry topsoil to wet ground, pasture to disturbed fill, ordinary soil to black sand, or one mineralized layer to another can justify repeating the procedure.
Also check after changing search mode, ground type, operating frequency, coil, or firmware when the manual says those changes affect stored values or ground processing. Some detectors retain a balance setting. Others store it by profile, reset it at startup, or use a different method in a specialized mode.
- Repeat when clean ground begins producing a new movement-related response.
- Repeat after moving into visibly or behaviorally different soil.
- Repeat when the manual requires it after a mode, coil, or ground-type change.
- Repeat an automatic sample if the first patch may have contained metal.
- Do not repeat only because a fixed number of minutes has passed.
When the detector remains stable and the ground has not materially changed, leaving the setting alone may be the correct decision. Constantly rebalancing in trash can create more uncertainty than it removes.
Know When Preset, Zero, Default, or No Adjustment Is Correct
A preset or zero value is not evidence that the detector has been configured carelessly. It may be the manufacturer’s intended starting point for mild ground, a search mode that handles conductive salt differently, or a detector without user-adjustable ground balance. If the machine is stable and the manual recommends the default, leave it there.
Some detectors also provide a ground balance control that should be used only in sufficiently mineralized ground. In mild soil, enabling or forcing the adjustment may provide no practical improvement and can reduce performance if the sampled patch contains metal. The correct decision comes from the manual and detector behavior together.
Beach modes deserve special care because conductive salt response is not identical to ordinary mineralized soil response. Do not assume a land-mode pumping procedure, a familiar zero value, or tracking preference transfers to wet salt conditions. Use the mode and ground procedure specified for that environment.
The practical goal is not to prove that you know how to adjust every control. It is to run the simplest stable setup that fits the ground and target. That principle is central to the broader field techniques that improve detecting results.
Separate Ground Response From EMI, Coil Contact, and Hardware Instability
Not every unstable detector needs a new ground balance. Run one test at a time so the result points toward a cause. Changing noise cancel, sensitivity, ground balance, discrimination, and recovery speed together may make the machine quieter, but it will not tell you which change solved the problem.
Use these observations as diagnostic clues rather than absolute proof:
| Observed behavior | More likely first check | Next action |
|---|---|---|
| Noise continues with the coil held still in the air | EMI, unstable sensitivity, or electronics | Run noise cancel, lower sensitivity, move away from interference, and retest. |
| Response appears mainly as the coil moves toward or across clean soil | Ground response | Confirm clean ground and run the model-specific balance procedure. |
| False signal occurs when the coil bumps grass, rocks, or stubble | Coil contact, sensitivity, mounting, or cable movement | Improve coil control, inspect mounting and cable routing, then retest. |
| Response follows one precise spot and pinpoints repeatedly | Buried metal or concentrated hot rock | Move the balance test to another patch before adjusting. |
| Instability remains after correct setup in several clean locations | Coil, connector, battery, contamination, or hardware fault | Inspect and clean the system, test known-good components if available, and follow service guidance. |
Dirt trapped under a skid plate, a loose connector, a moving coil cable, low power, or a damaged coil can imitate a settings problem. Correct ground balance will not repair a mechanical or electrical fault. If the behavior follows the hardware instead of the soil, stop adjusting and inspect the detector.

Panasonic Eneloop AA batteries use rechargeable Ni-MH chemistry and arrive pre-charged for use. The listing specifies up to 2100 recharge cycles and a typical capacity of 2100mAh. This package contains eight AA rechargeable batteries.
Check On AmazonIf you click this link and buy, we earn a commission at no additional cost to you.
Avoid the Ground Balance Mistakes That Create New Problems
The most common mistakes come from treating ground balance as a universal recipe. A video shows one coil height, value, button sequence, or adjustment direction, so the detectorist repeats it on a different machine and mode. The procedure may appear to complete while sampling the wrong ground or changing the wrong control.
Watch for these failures:
- Balancing over a buried target, hot rock, reinforced surface, or trash patch.
- Using a pumping procedure when the manual requires sweeping, sampling, tracking, or no adjustment.
- Copying another detector’s value or manual-adjustment direction.
- Changing ground balance before checking mode, EMI, sensitivity, and coil stability.
- Leaving tracking active around a target when the manual advises otherwise.
- Repeating the procedure constantly without evidence that the ground changed.
- Assuming a completed automatic command guarantees a correct result.
- Skipping the clean-ground and known-target verification afterward.
The cure is a fixed order: identify the system, read the exact procedure, diagnose whether the ground is responsible, find clean ground, perform one adjustment, and verify. That order is slower than pressing several buttons at once and much faster than spending the hunt chasing a problem the ground balance control cannot solve.
Final Thoughts: Balance the Detector to the Ground You Are Actually Hunting
Ground balance is a field correction, not a badge of advanced setup. Use it when the detector and manual show that the ground needs compensation, and leave the preset or default alone when that is the intended stable choice. The exact movement, value, direction, and repeat schedule belong to the detector and mode, not to a universal checklist copied from another machine.
I check ground balance again when a move into materially different soil changes the detector’s behavior. After balancing, I verify clean ground and a known target. If the machine is still unstable, I move on to EMI, sensitivity, coil contact, cable movement, and hardware instead of asking one setting to solve every problem.
FAQs
⚙️ Do I need to ground balance every metal detector?
No. Some detectors use a fixed preset, and some modes are designed to remain at a default unless the manual says otherwise. Adjust only when the detector supports it and the ground or setup requires it.
🌱 How do I know the ground balance is wrong?
The detector may react broadly as the coil approaches or moves across clean soil, then quiet down when the coil stops. Confirm the patch is metal-free and rule out EMI and coil contact before changing the setting.
🔢 What ground balance number should I use?
There is no universal number. Use the automatic result or manual response method specified for the exact detector, coil, mode, and ground.
🔄 Is tracking ground balance better than manual balance?
Tracking is useful when ground conditions change, but manual or fixed balance may be better in uniform ground or when the manual recommends pausing tracking near a target. The implementation and update behavior are model-specific.
🏖️ Should I ground balance the same way on wet salt sand?
Not automatically. Conductive salt can require a specialized beach mode or a different procedure. Follow the instructions for that environment instead of transferring a land-mode setting.
📍 How often should I repeat ground balance?
Repeat when the ground response changes, the site conditions become materially different, or the manual requires it after a mode, coil, or ground-type change. Do not use one fixed time interval for every detector.
📡 Can EMI sound like bad ground balance?
Yes. Noise that continues with the coil still and raised away from the ground points more strongly toward EMI or unstable sensitivity. Run the interference checks before changing ground balance.
Sources and References
- Minelab USA Frequently Asked Questions: Guidance on when ground balance may be unnecessary, using tracking in variable ground, selecting clean ground, and separating mineralization from EMI.
- Minelab EQUINOX 600 and 800 Instruction Manual: Official procedures for automatic, manual, and tracking ground balance and mode-specific recommendations.
- Minelab GPX 6000 User Manual: Official explanation of automatic tracking, manually initiated balancing, startup sampling, and changing-ground procedures.
- Nokta The Legend 2 User Manual: Official reference for automatic, manual, and tracking methods and detector-specific control behavior.
- Minelab Service Parts Troubleshooting Guide: Diagnostic separation of ground-balance faults, EMI, sensitivity, mineralization, skid-plate contamination, coils, and hardware issues.
- DetectorProspector Ground Balance Field Discussion: Independent field observations showing why clean-ground selection and repeatable verification matter in iron, EMI, and changing soil.